Algonquin Park: Algopedia: How To Build A Pulk

One of the most useful things when winter camping is a pulk. A pulk is basically a toboggan and pull harness used to carry all your gear across the snowy wilderness you go winter camping in.
I've seen some crazy expensive pulks for sale, but since I wasn't going on an Antarctica exploration I thought they were a bit much for my use. So I decided to build my own. There are many DIY pulk instructions on the web, I looked over several and came up with a design using the many ideas I found.
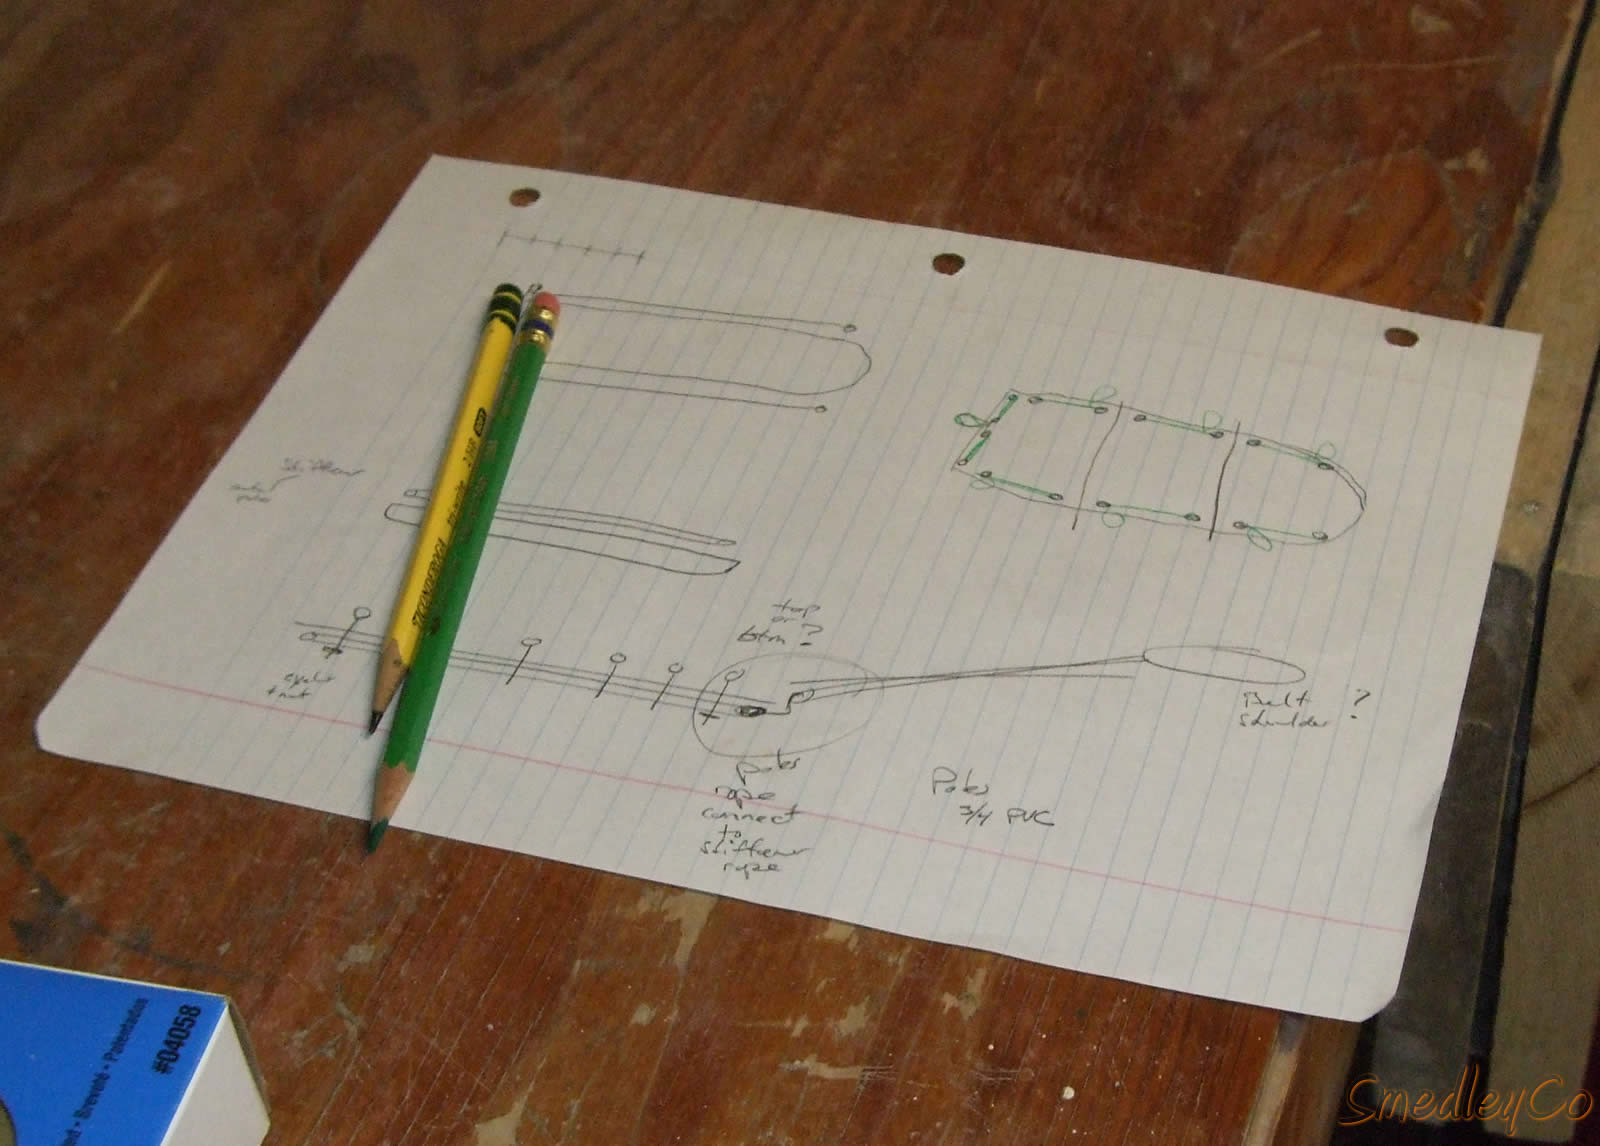
Detailed plans required for DIY pulk.
How to build a Pulk: Overview of the Steps
- 1. Get a toboggan.
- 2. Get materials for a harness, lashings etc.
- 3. Assemble the pulk.
- 4. Assemble the harness.
- 5. Go winter camping!
Get A Toboggan
Any toboggan that is lightweight and long should do the trick. You want the thickness to be able to handle some abuse, pulling over downed trees, rocks etc., but you don't need something super heavy. You also want to have enough room to pack all your gear, so a little one man toboggan isn't going to do the job.
Canadian Tire is a great place to find something like a 60 or 66 inch long toboggan![]() , other stores likely have something similar. Pelican and HO! are a couple of brands that are good for making a pulk.
, other stores likely have something similar. Pelican and HO! are a couple of brands that are good for making a pulk.
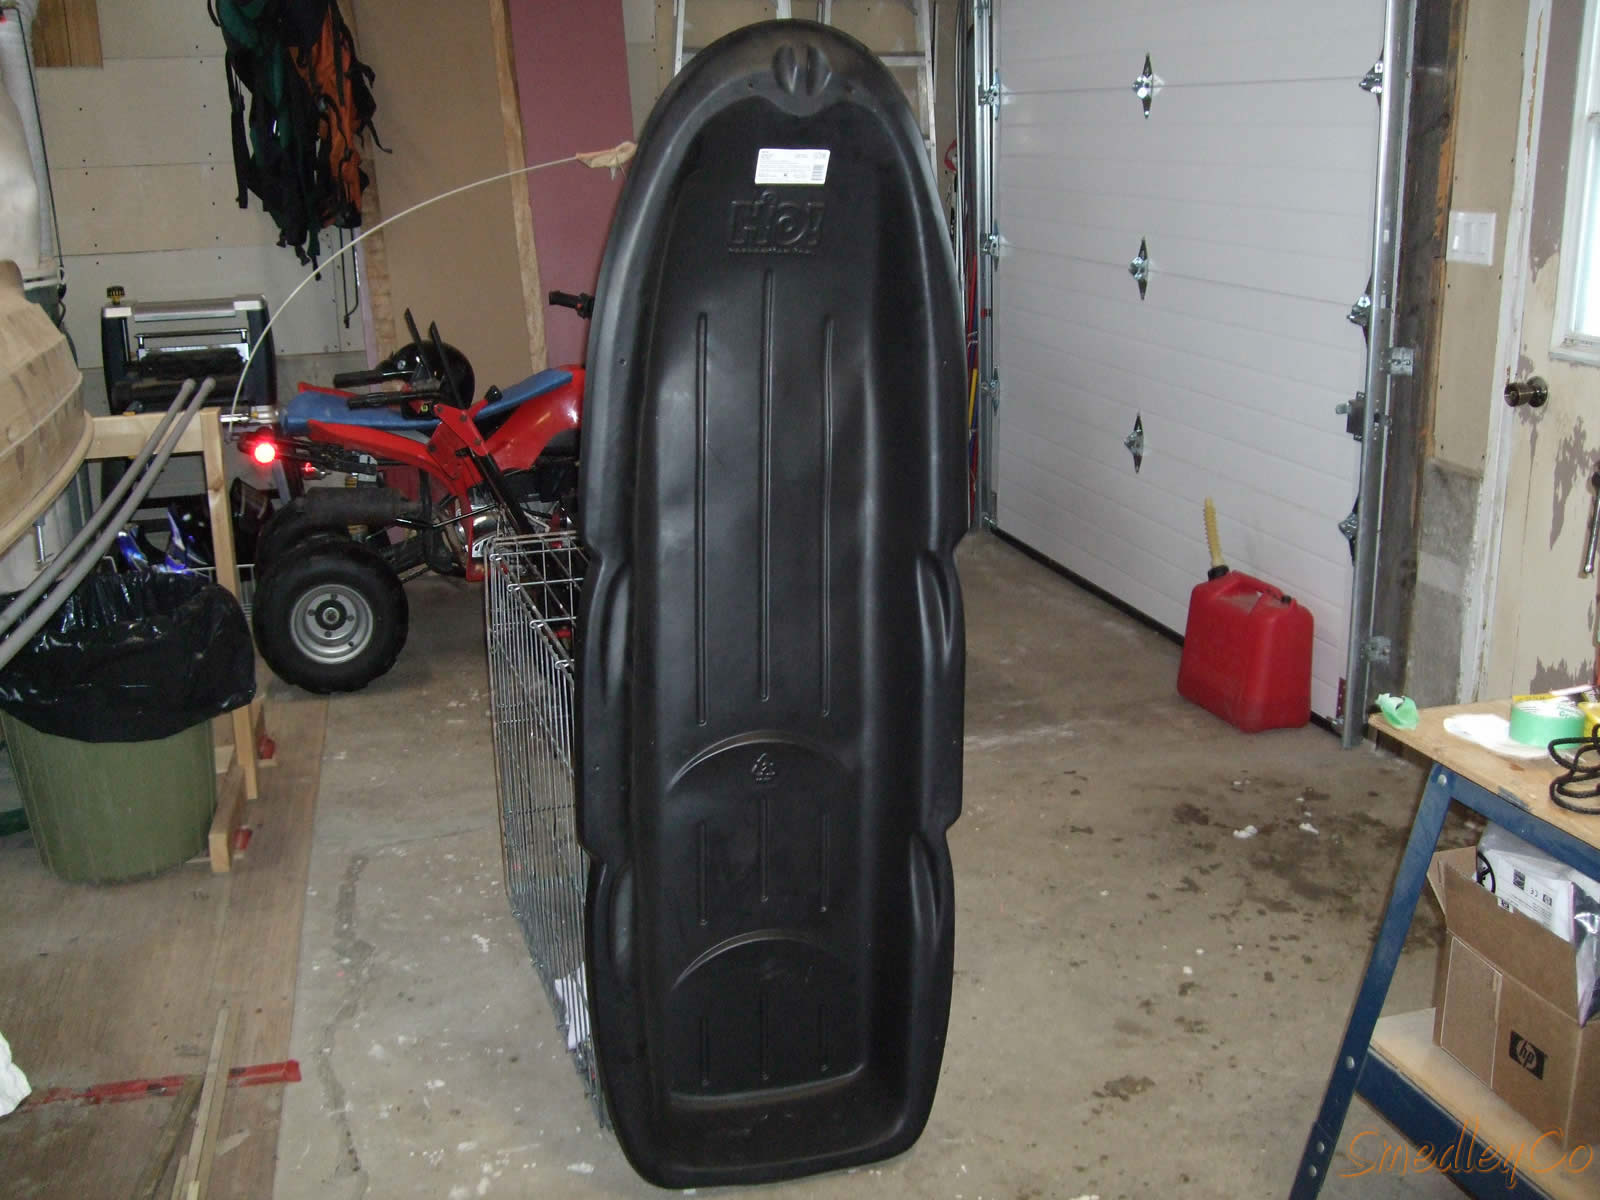
HO! 60 inch toboggan, the starting point.
Other Materials Required
To make your toboggan a pulk you need some other materials. You need rope for running around the toboggan edge, something for the harness to pull the toboggan and assorted snaps for connecting everything.
I knew I wanted to have piping between the pulk and harness to help with downhill travel, this stops the sled from smashing into you and helps with controlling the pulk. I also knew I was going to use an army surplus "fanny pack" I'd found and this determined some of the hardware I'd need to connect everything up.
I got most of this material from the local surplus store.
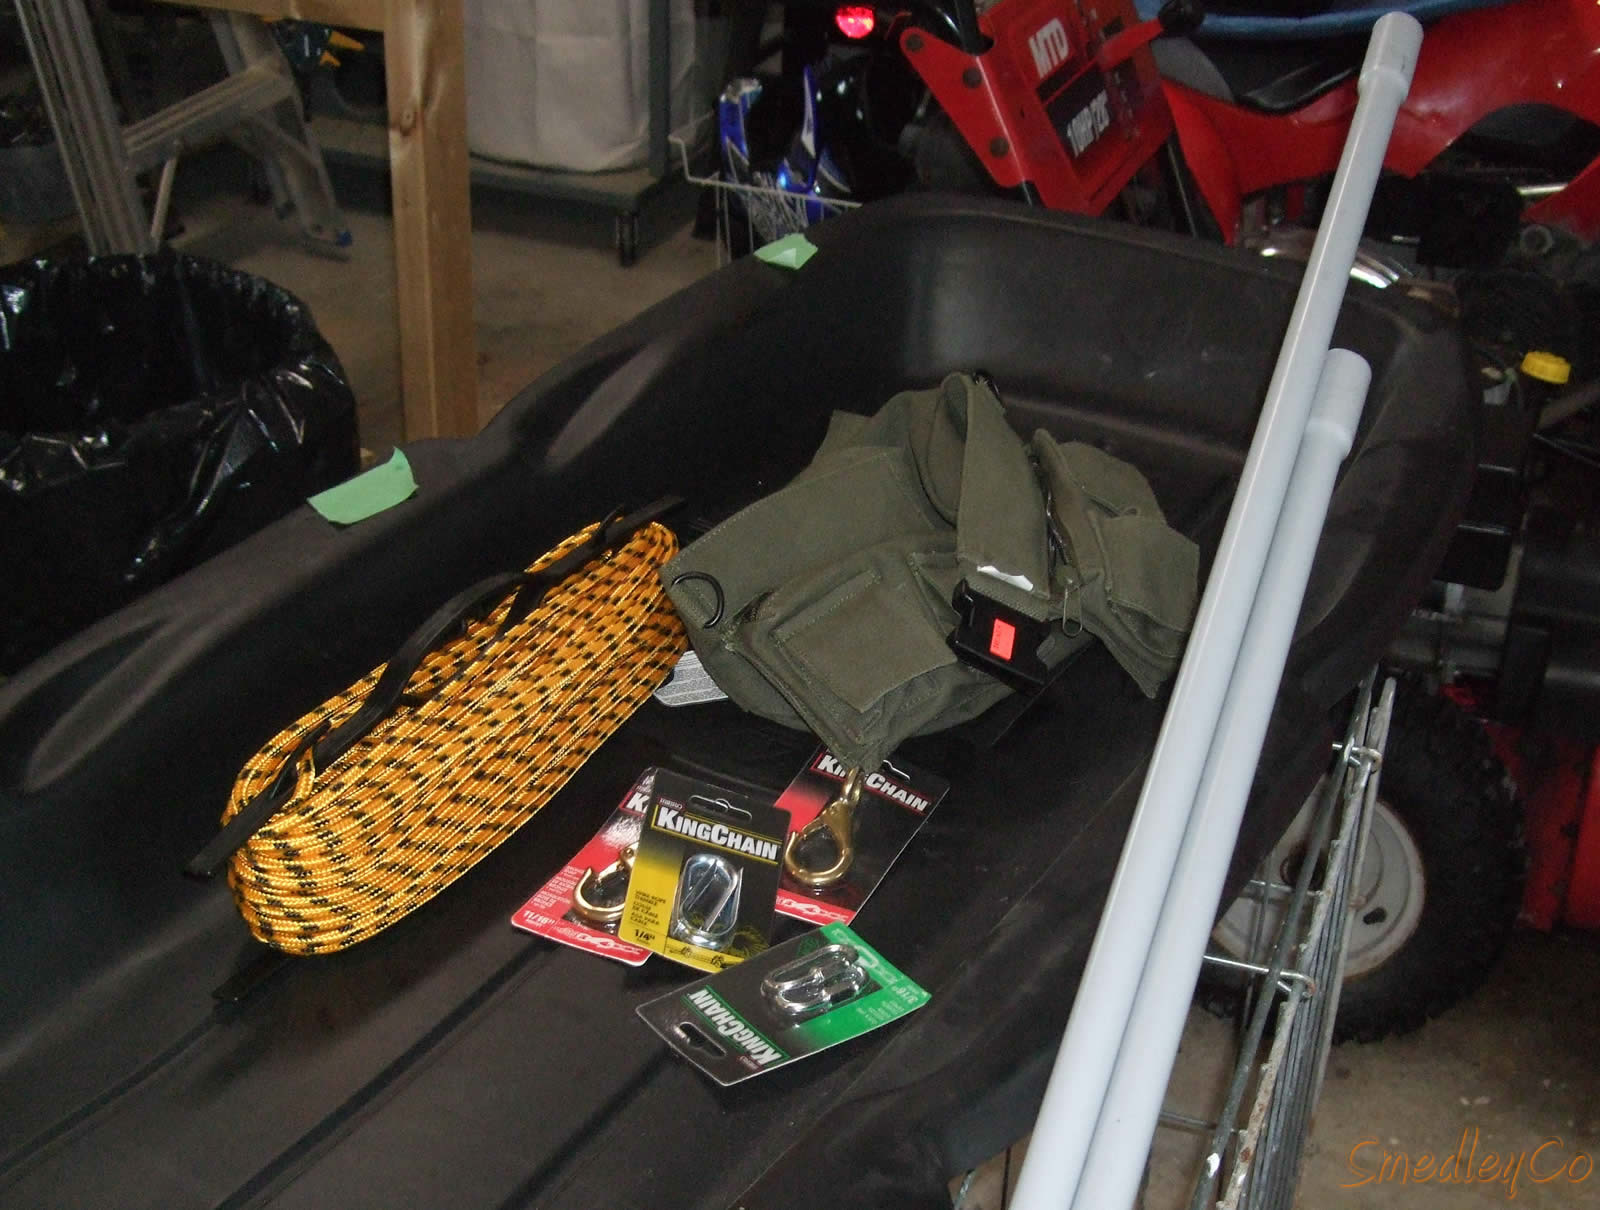
Rope, conduit, snaps for completing the pulk.
Assemble the Pulk
Now that you've got your materials it's time to get started on the construction. Most pulks are of similar design, a toboggan with a rope wrapped around the outside edge for strapping items in. Then, ropes or poles or a combination of both for you to pull the pulk with. Some people use just a rope they hold onto, some people attach to a hip or shoulder belt for pulling the toboggan.
Begin by drilling holes around the outside lip of the toboggan, spaced around 8 - 10 inches apart. You'll be weaving the rope through these holes so space them the distance you think you'll need, taking into account the molding of the sled. Place them at strategic points and avoid any weaker areas.
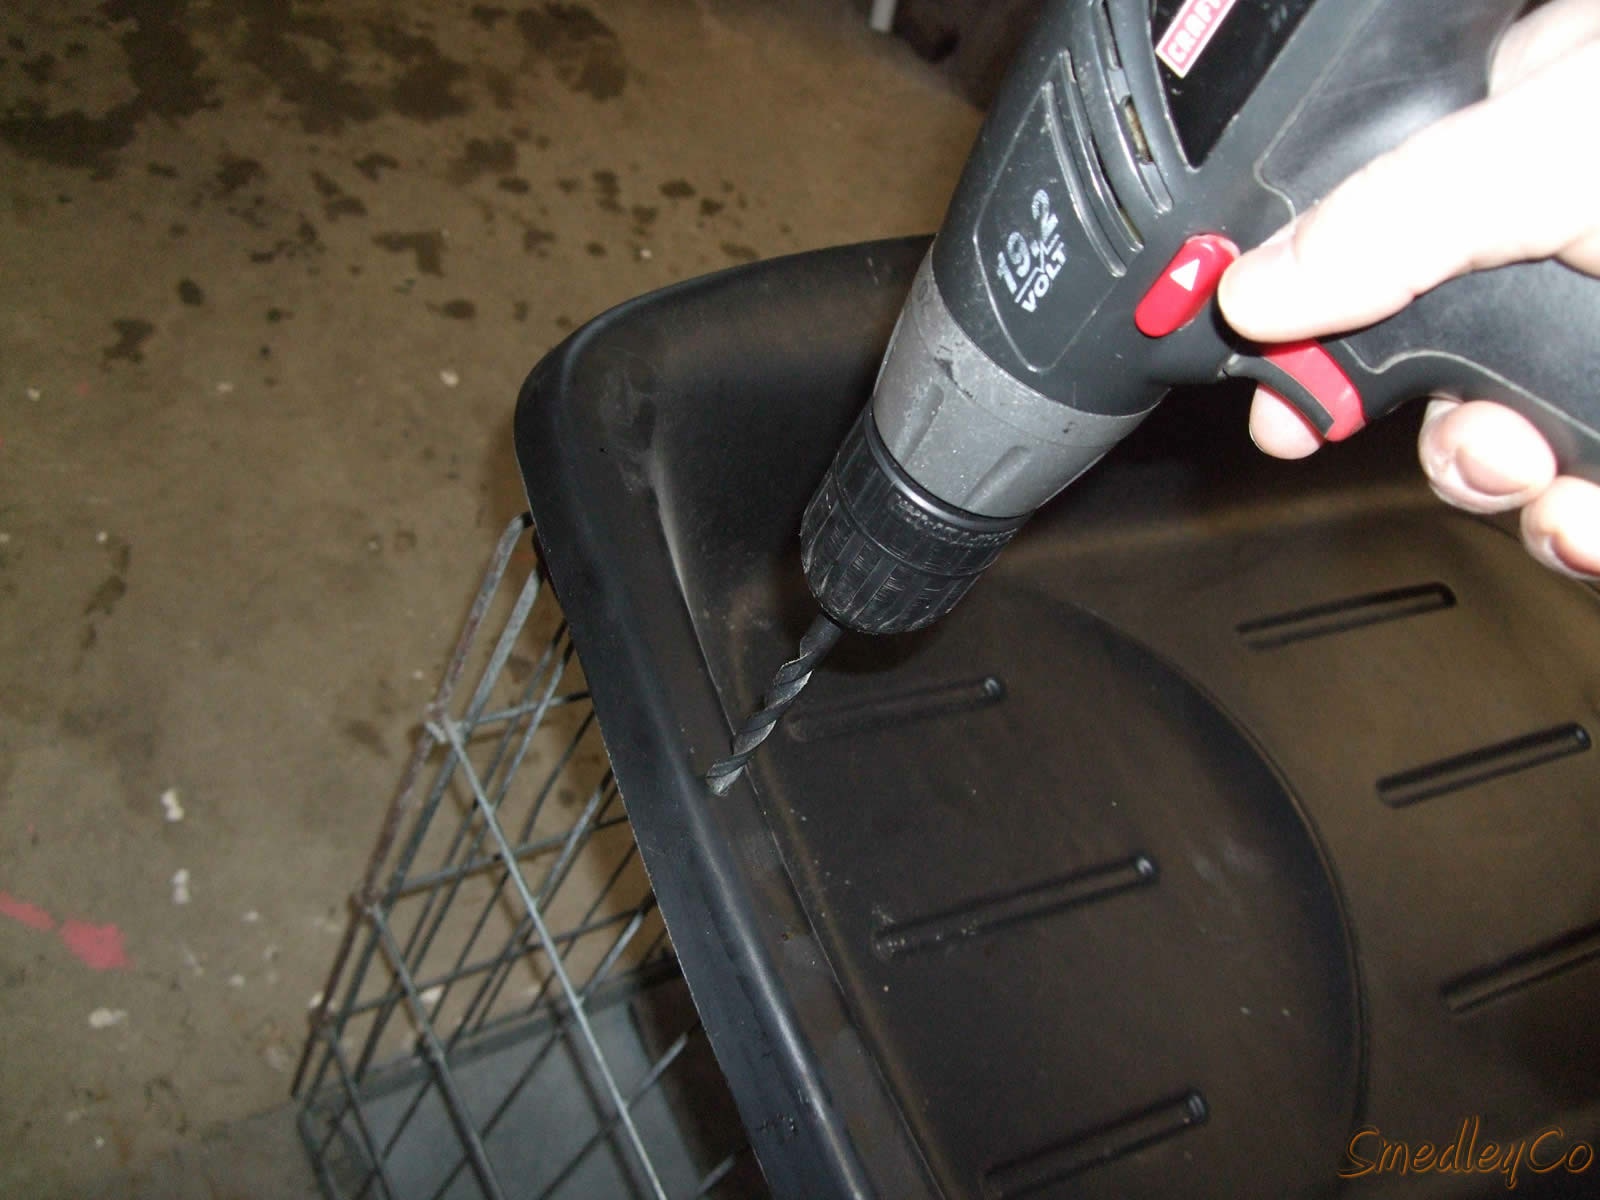
Drill holes around edge for threading rope.
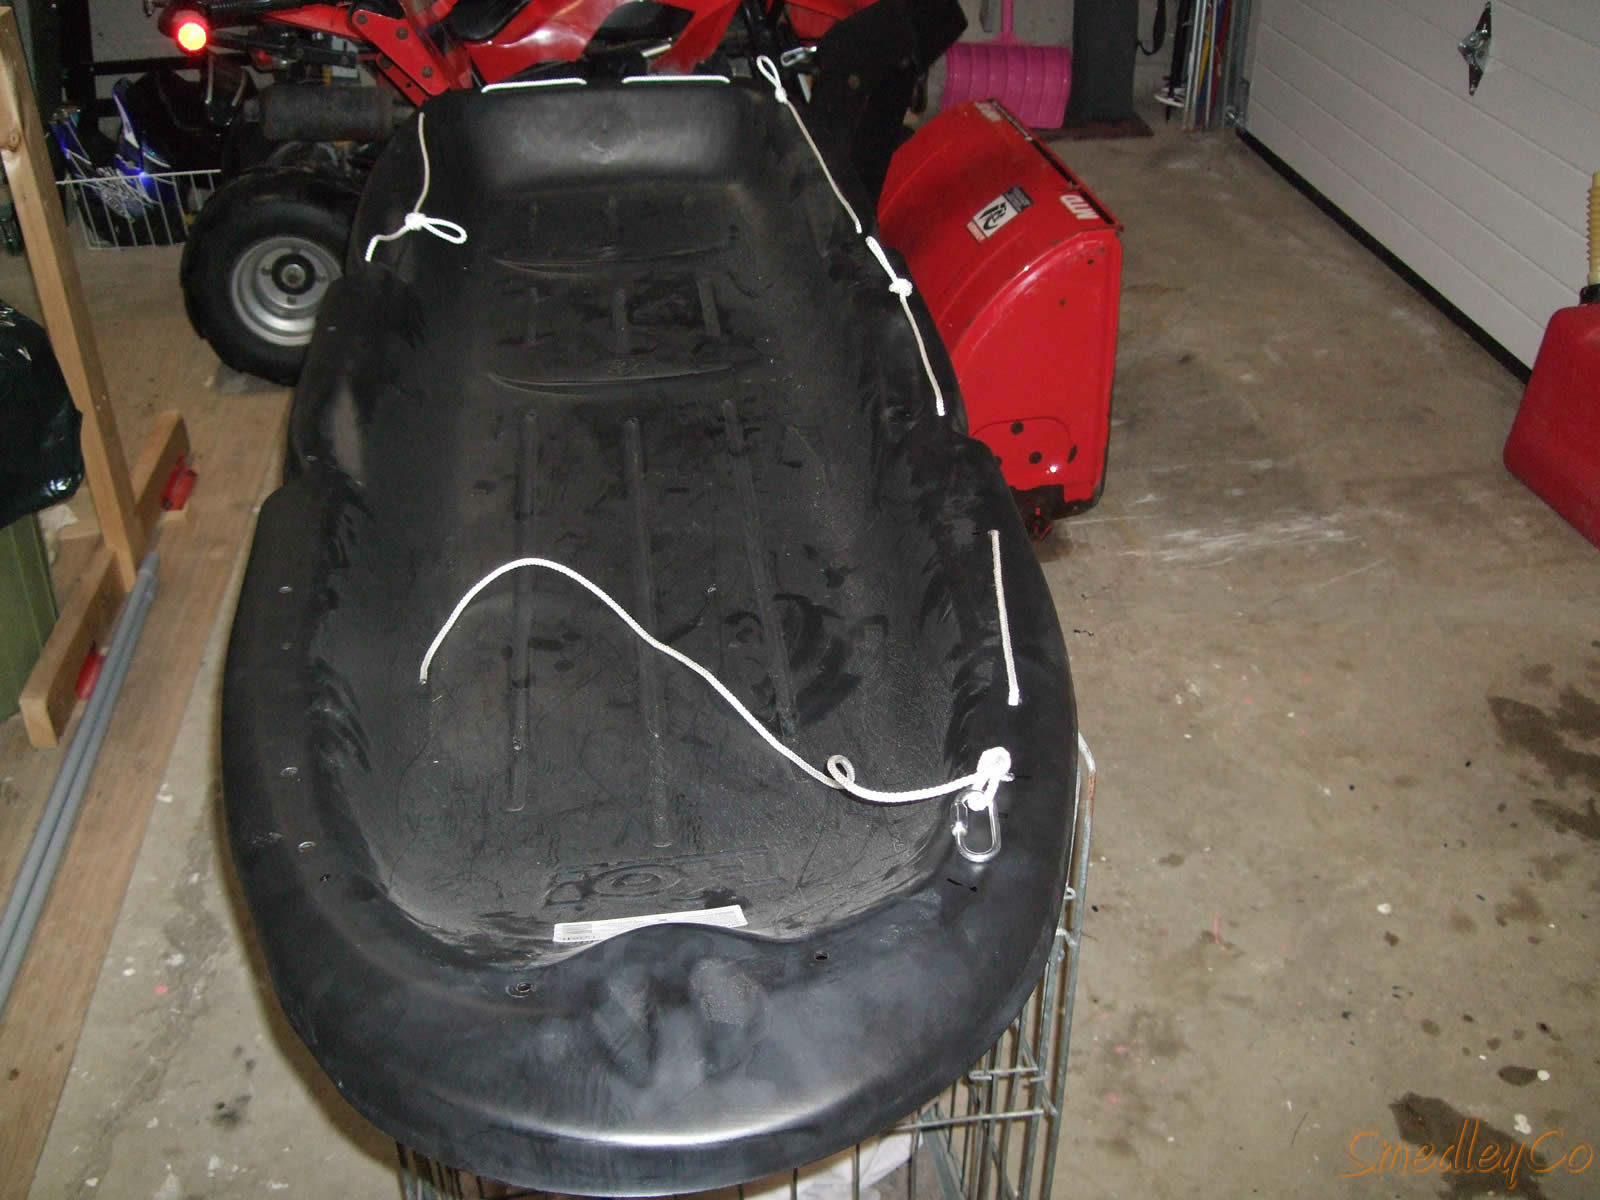
With the holes drilled take your rope and do some test runs threading the rope around. Since you will be using this to strap all your gear firmly into the pulk you want it to be strong enough. I also used this rope to attach the harness to, so decide how you want that to work.

Figuring out the rope placement.
Sometimes it is necessary to pull two sleds, or maybe you want to have a rope to slow your descent down a big hill. So I put an attachment loop on the back of my pulk. There's lots of little things you can come up with to customize your pulk.

Feel free to customize your pulk.
Once I had tested out the rope placement, rear hook point and harness attachment points and was happy I switched to the good rope I was going to use.
Happy with the test rope layout.
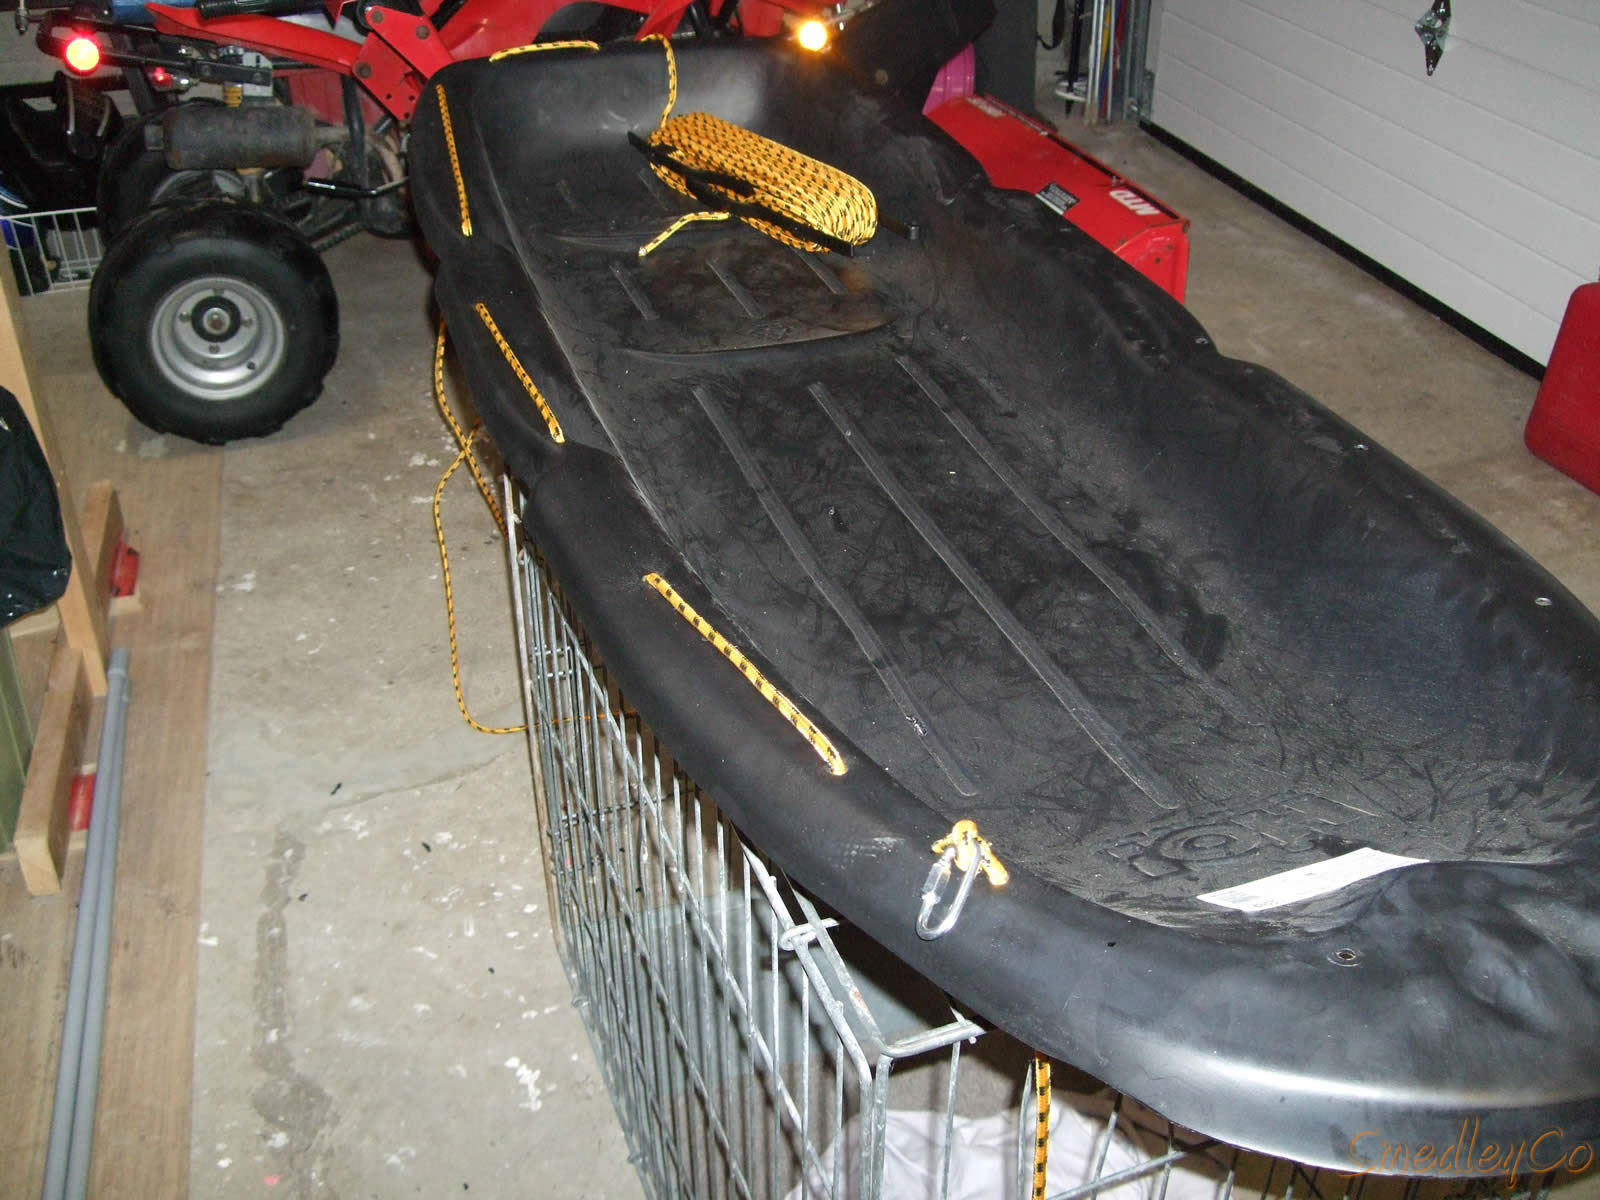
Installing the real rope.
There's no need to over complicate things when building your pulk. The simpler things usually work better and last longer. For the harness connection point I just tied a quick link to the rope.
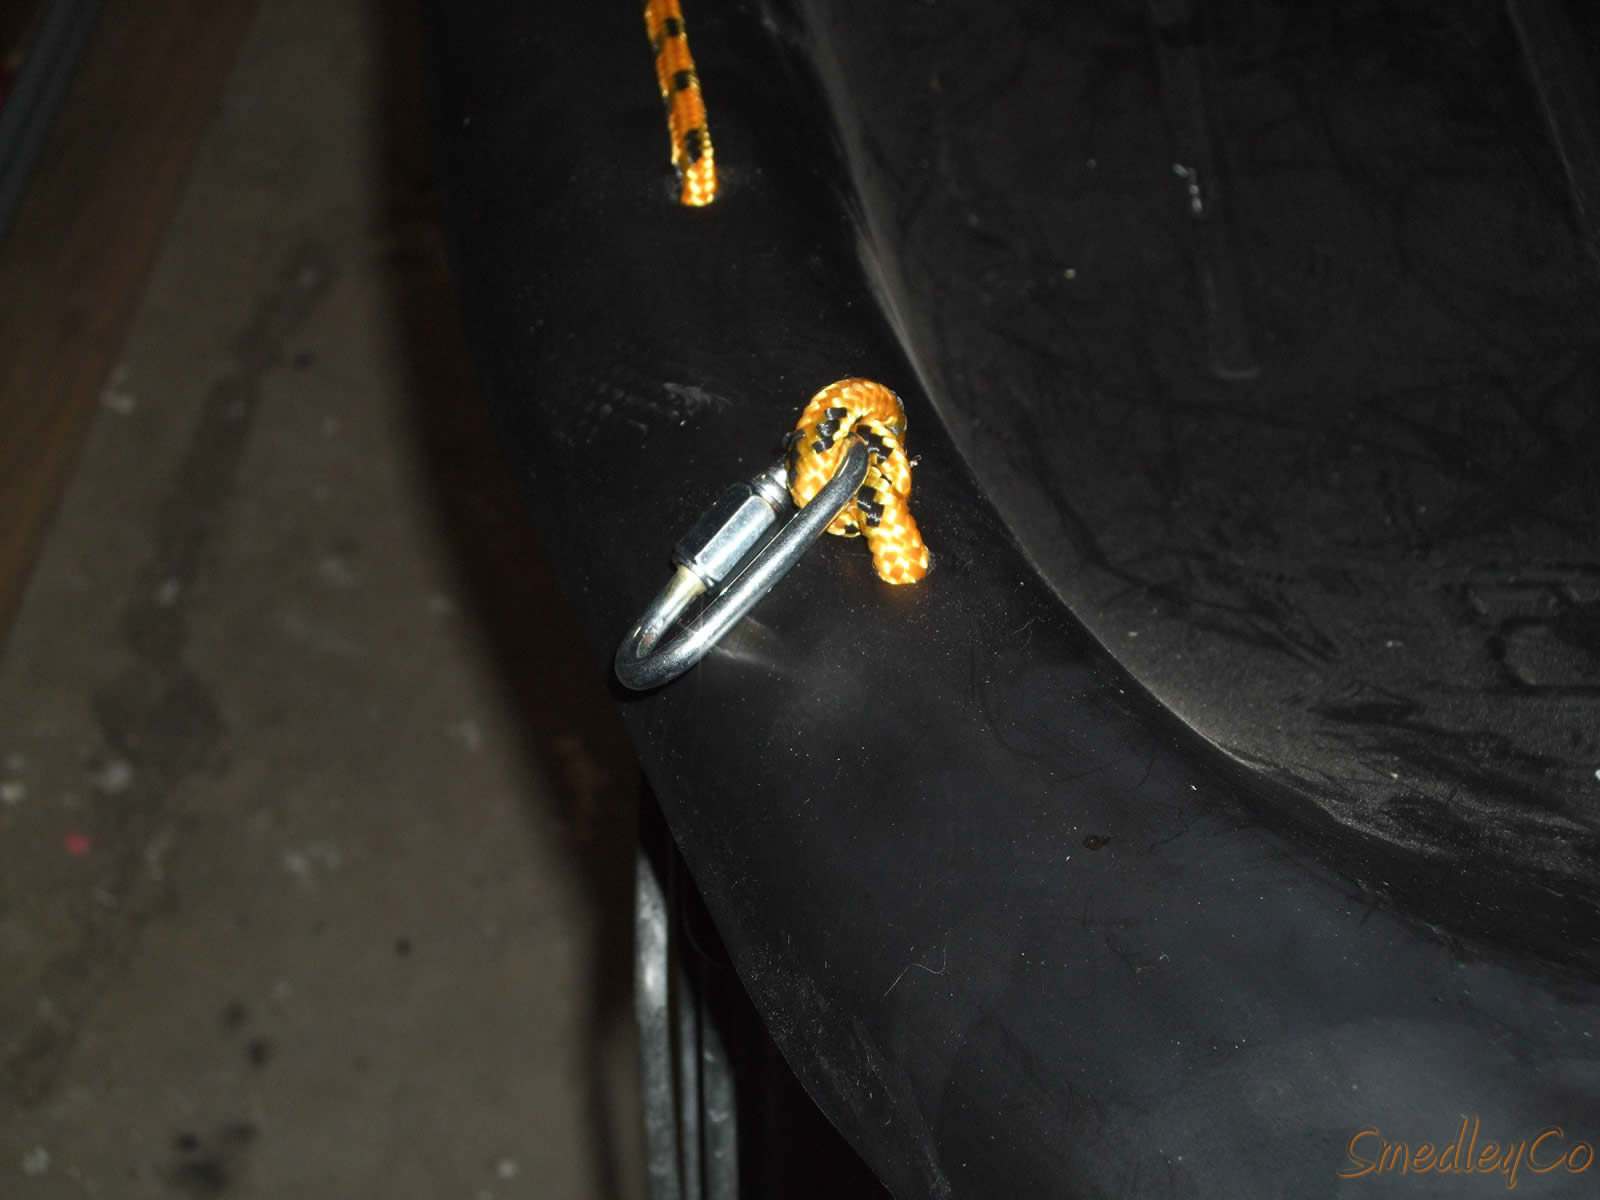
Quick link tied to rope for attaching harness.
Since it's common to use bungees to strap the load onto the toboggan I thought adding some loops would prevent the bungees sliding around.

Bungee attachment loops.
In short order I had the rope configured and all tied up. That's about all there is to the sled. I thought it looked pretty slick and would work fine to strap in a heavy load of winter camping gear. The rope placement also worked out so that there was a loop right at the front of the sled, this would help in lifting over any fallen logs on the trail.
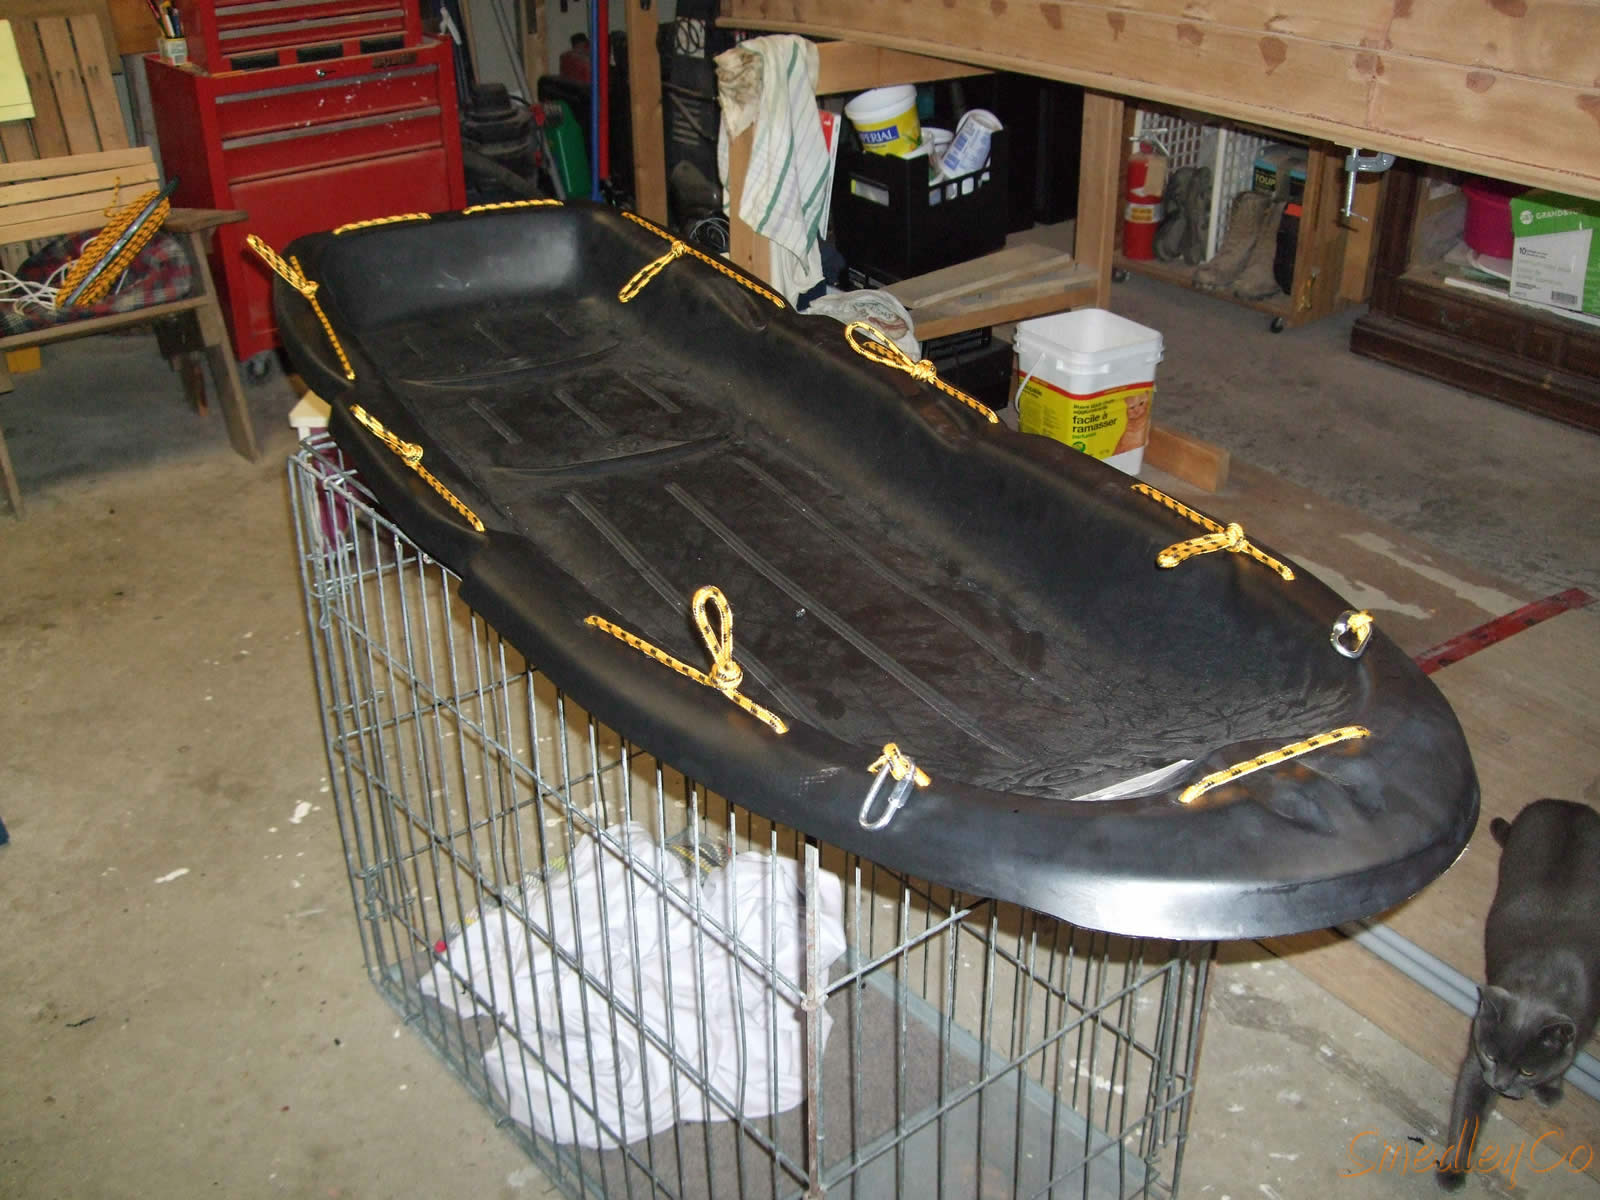
The finished sled.
Assemble the Harness
I had already decided that rigid poles would be used for my sled, this gives you a little better steering control and more importantly, stops the sled from smashing into you on downhill sections. Any rigid material will work, I decided that conduit would be the cheapest and easiest. I stood in front of the sled and guesstimated how long the poles would need to be.
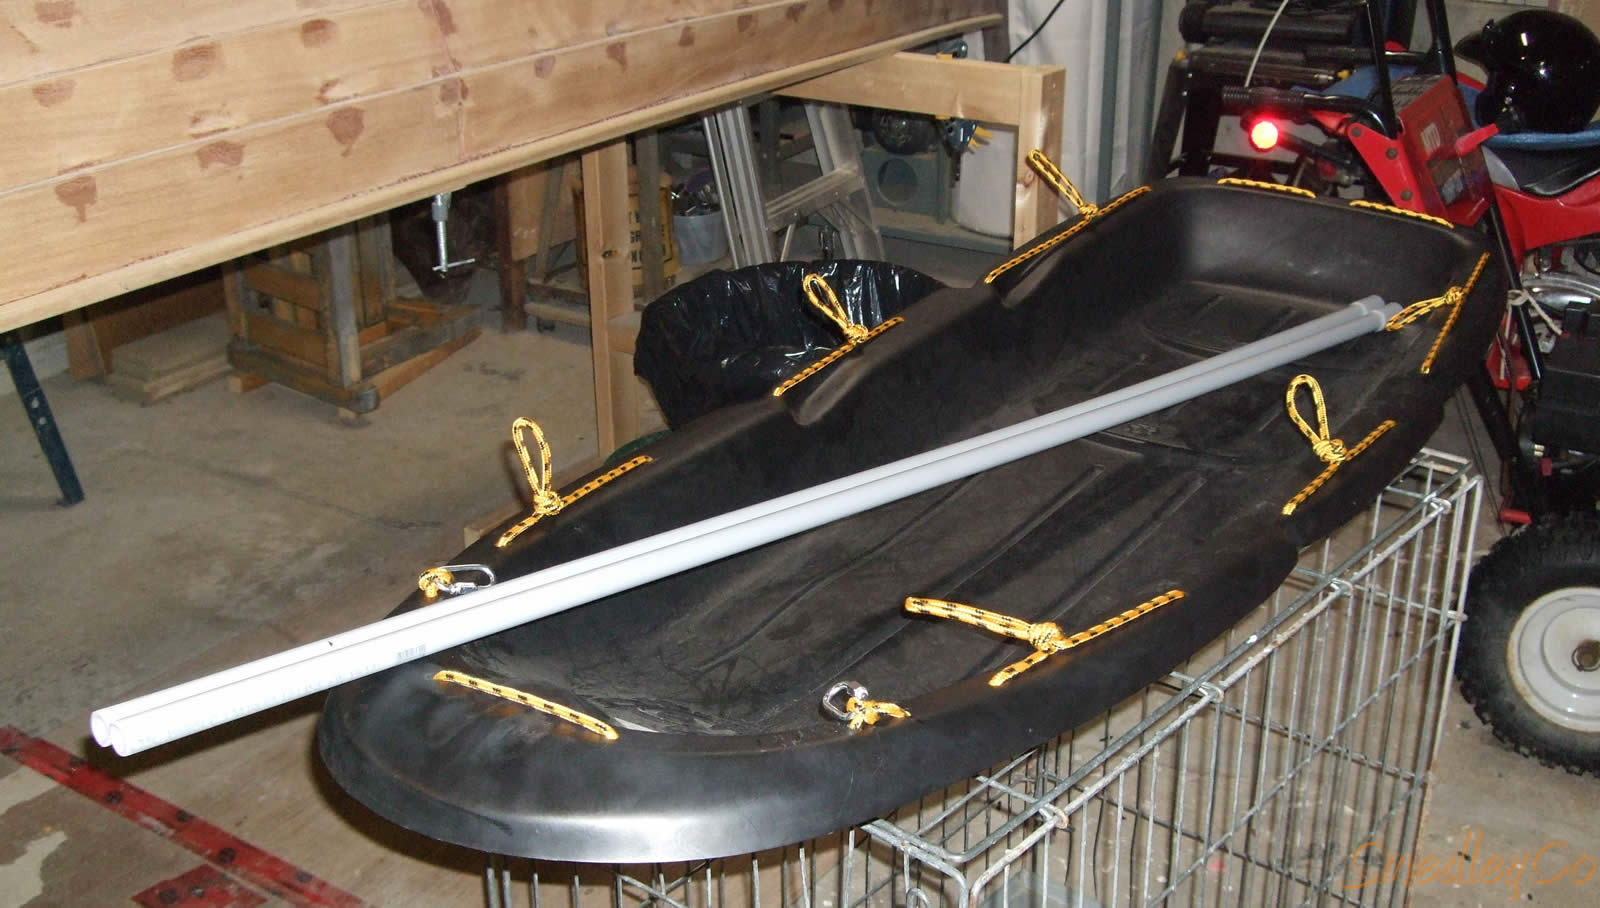
Conduit for the harness, cut to length.
The conduit is only needed to slow the pulk down, you still need to pull. So I ran a rope through the conduit and used fasteners at each end for connecting. The bottom end were just some loops to make it easier to attach to the links on the sled. At the top end I used some snaps so the harness could be taken on and off easily.
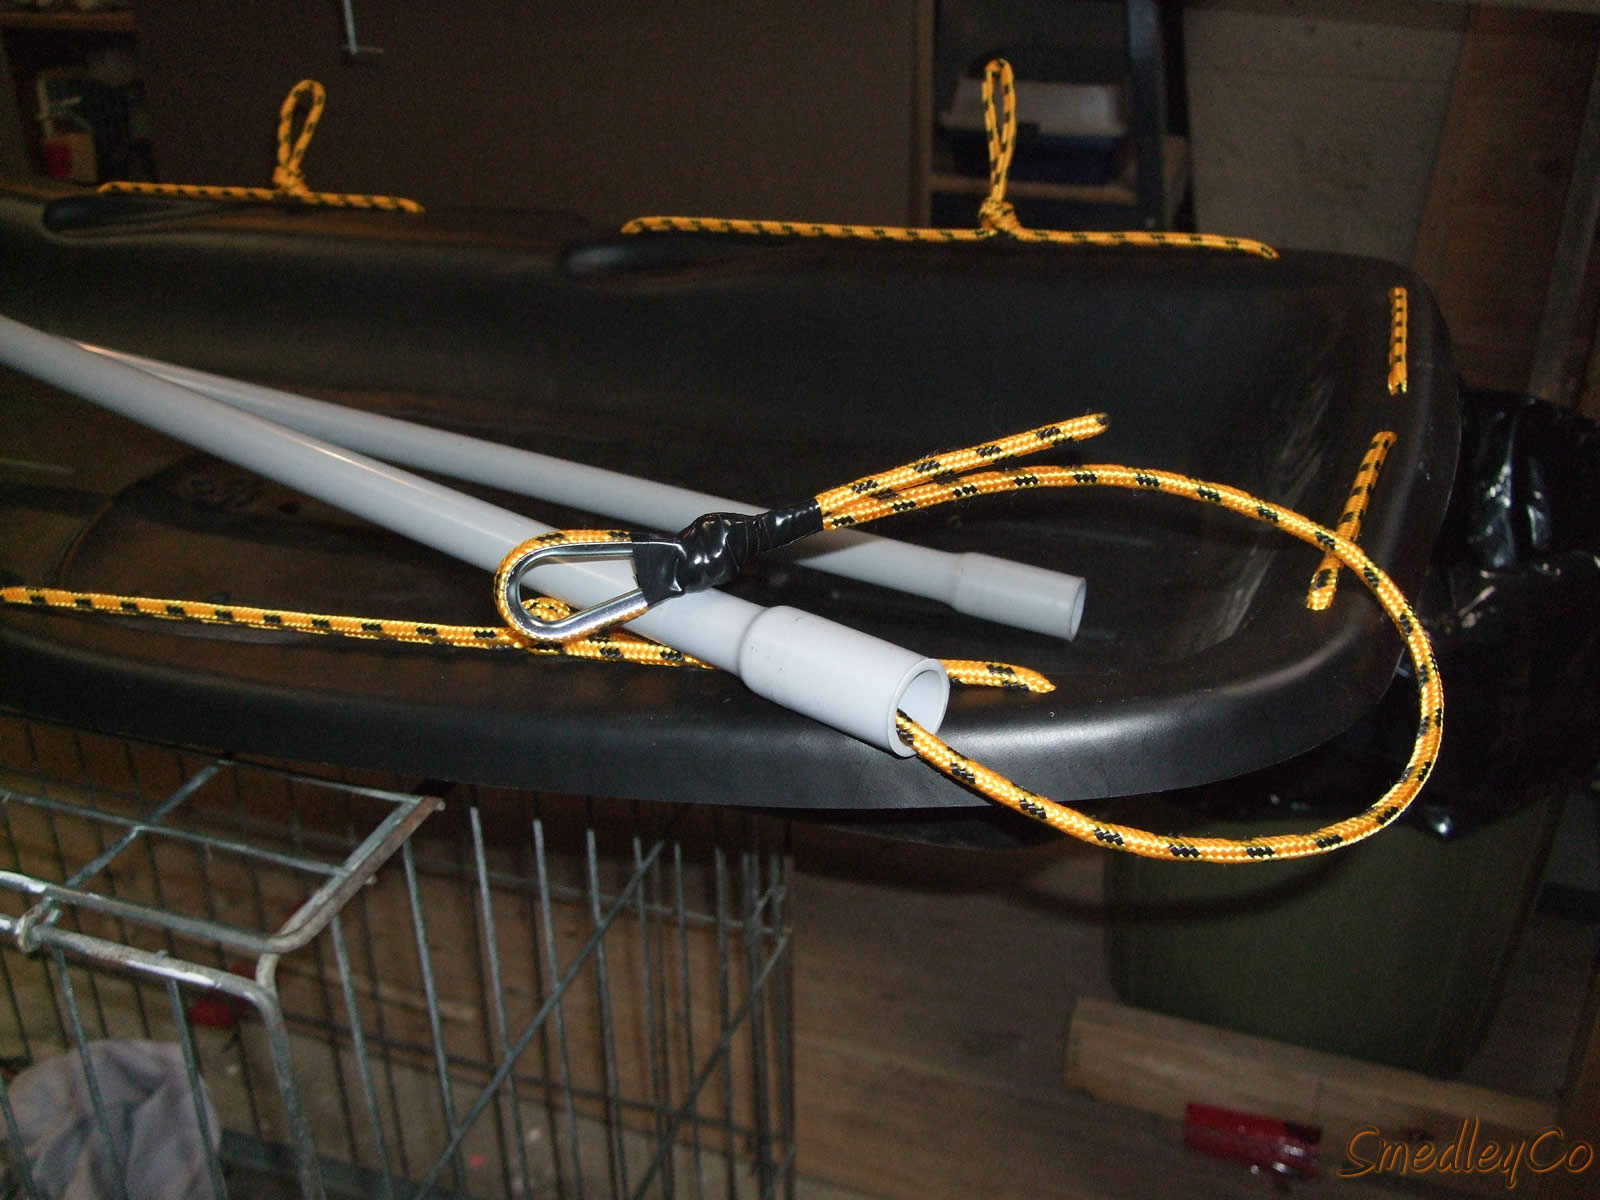
Loop preparation at bottom end of pole harness.
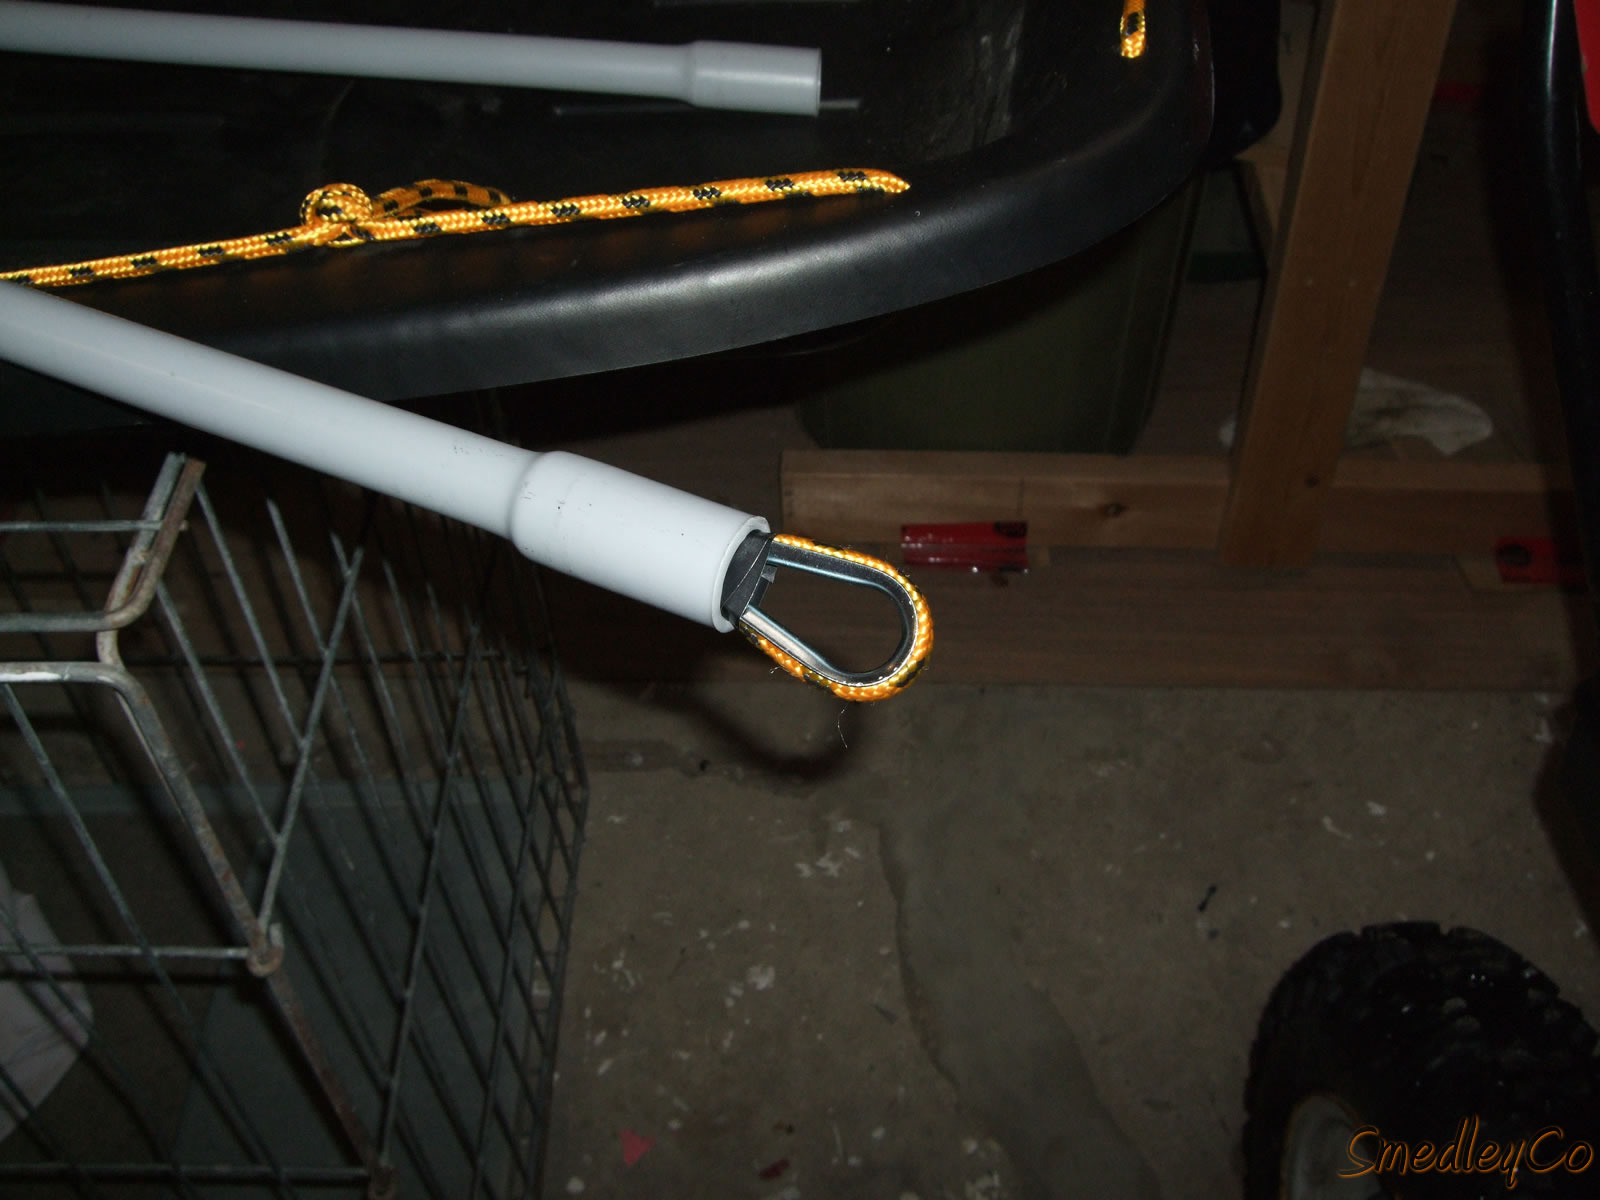
Finished pole to sled attachment loop.
A similar connection was made at the top end of the pole, using a snap.
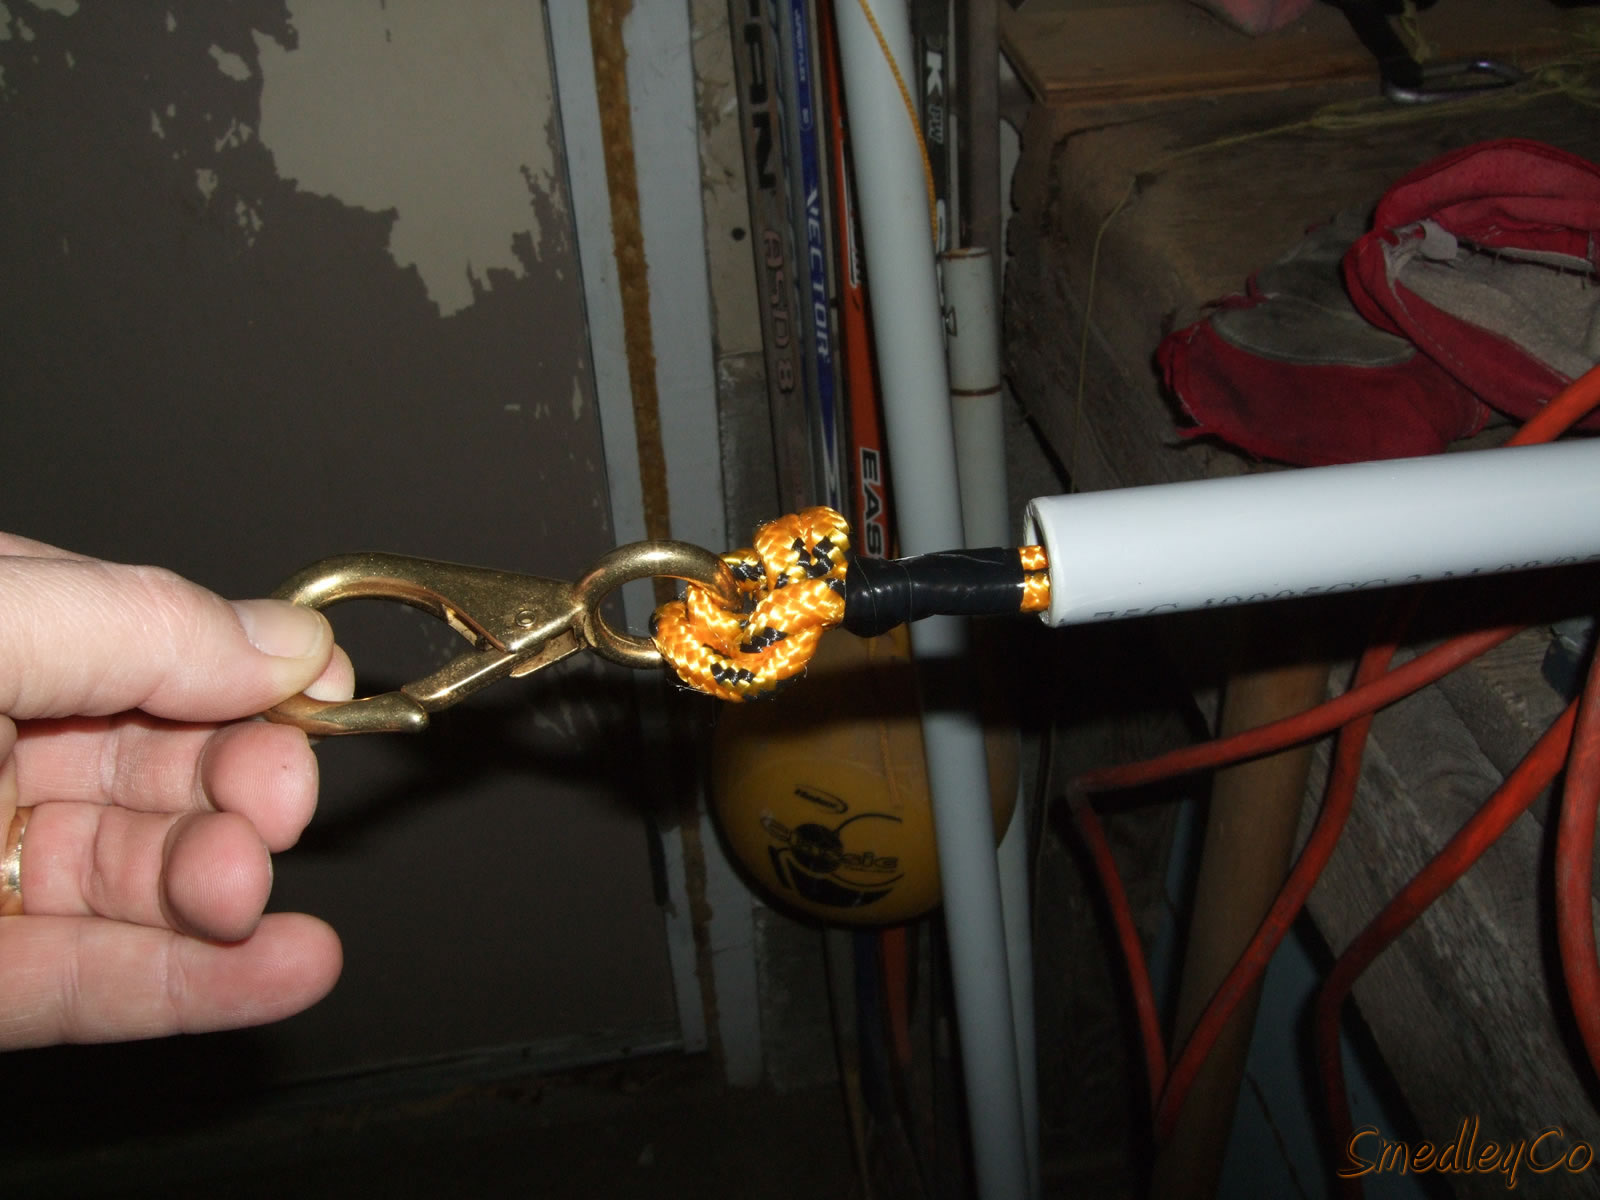
Snap for connecting to a pulling belt of some sort.
With the poles made it was simple to connect them to the sled with the quick links. In this picture the poles are just attached. I later crossed the poles and tied them together, this arrangement gives you better control.

It's a pulk now.
While purchasing the items I needed for the pulk I found an army surplus fanny pack. I thought this would be ideal for pulling the sled. It even had a couple of attachment loops right where they were needed.

Fanny pack. Poles clip to this.
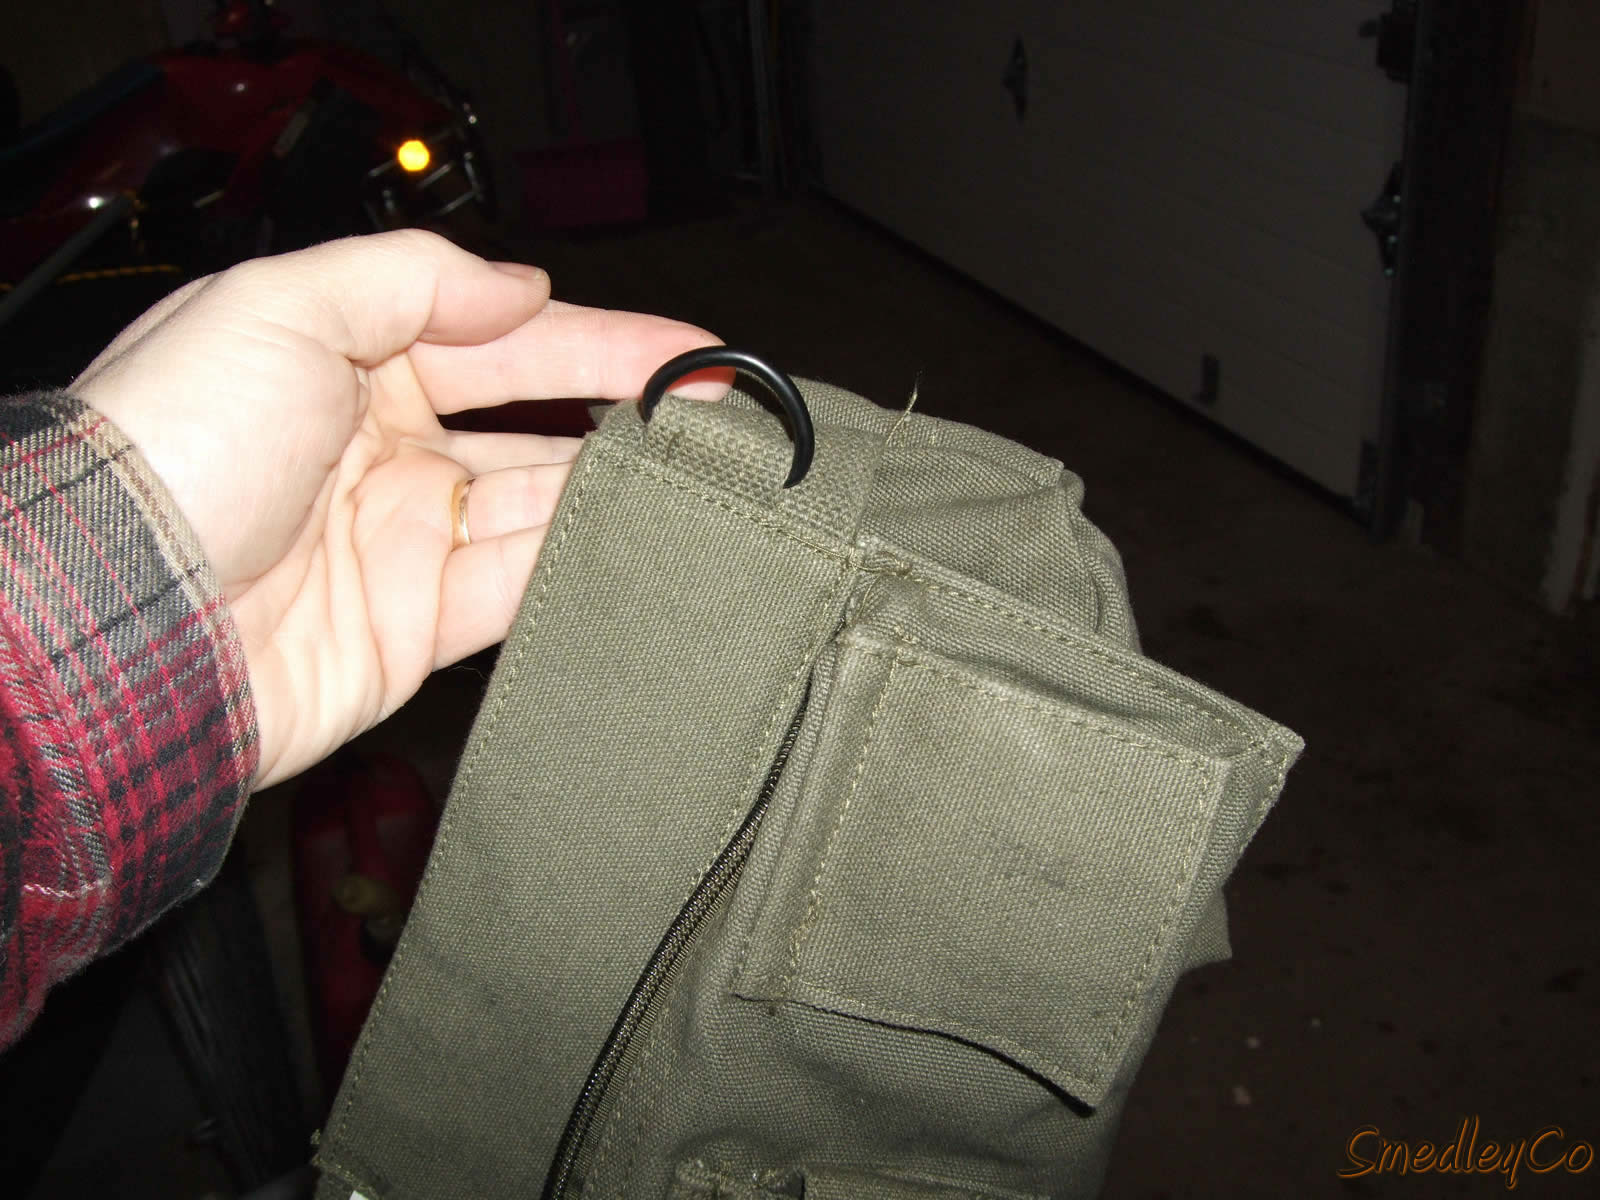
Built in attachment loops.
After a couple hours of working in the garage my pulk was complete. I strapped it on and went for a test drive up and down the driveway.
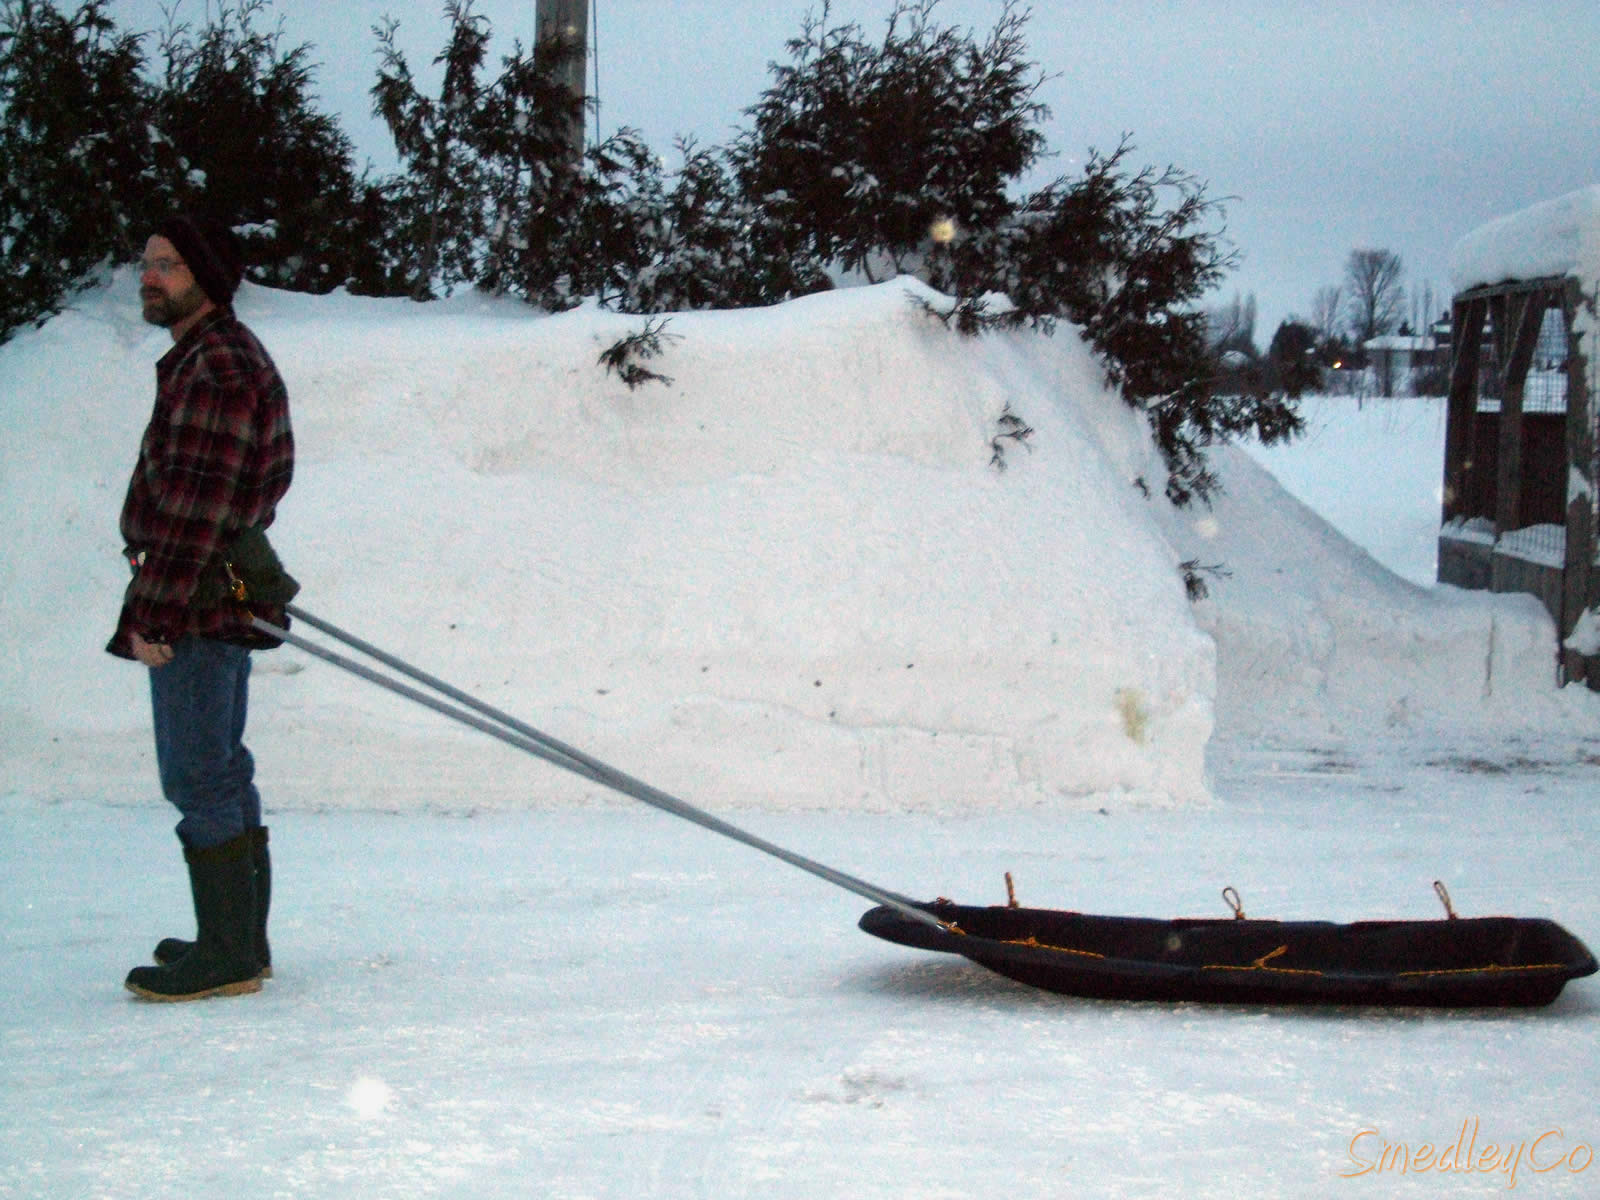
Finished pulk. Ready for winter camping!
Go Winter Camping
Since building this pulk I have been on several winter camping trips in Algonquin Park and the sled has worked very well overall.
After using it I discovered the loops on the fanny pack were not strong enough and one pulled off. When all your gear is on the pulk you are trying to move a fair bit of weight. So I have since changed to using carabiners to connect the poles to the fanny pack. Also, when pulling a loaded sled the fanny pack has a tendency to slide down from your waist. I added suspenders to hold the fanny pack up when pulling.
The rope I used for the pulk is a little too stretchy too. After most trips I have to retie the snaps on the poles to take the slack out of the rope. This is not really a problem when using the sled but I personally don't like the rope being longer than the poles.
The main issue with this homemade pulk is that it is not really long enough. On the majority of my winter trips we don't have enough room on the sleds. This means we have to load the sleds too high, causing them to be tippy, or someone pulls two sleds. As commercial pulks can be 8 - 10 feet long, I have some ideas for trying to build a longer sled.
Winter camping is great fun, but like most camping being prepared and having the right equipment is essential. Luckily, building your own pulk is simple and fun!
Read my winter camping trip reports.
Build A Pulk
Jump To...
Toboggan.
Materials.
Assemble.
Harness.
Camping!
Winter Camping Information
Friends of Algonquin Park- Winter Page
Algonquin Adventures
- Winter Page
Algonquin Weather