Algonquin Park: Algopedia: How To Build A DIY Mega Pulk

How to build the SmedleyCo Mega-Pulk cont'd:
- 1. Get two toboggans.
- 2. Cut the top off one and the bottom off the other.
- 3. Join the two halves together.
- 4. Make feature improvements.
- 5. Attach poles for pulling the pulk.
- 5. Go winter camping!
Feature improvements
I now had a functioning eight foot long pulk perfect for winter hot tent camping trips in Algonquin Park, or anywhere else backcountry. Of course there is always room for improvements. Another “flaw” in the original pulk design was that the front edge would build up snow and occasionally even get jammed on a log or snow pile. The rope handle I had installed helped to lift the front of the pulk over obstacles but I thought something could be done to put more of a curved front end on the pulk.
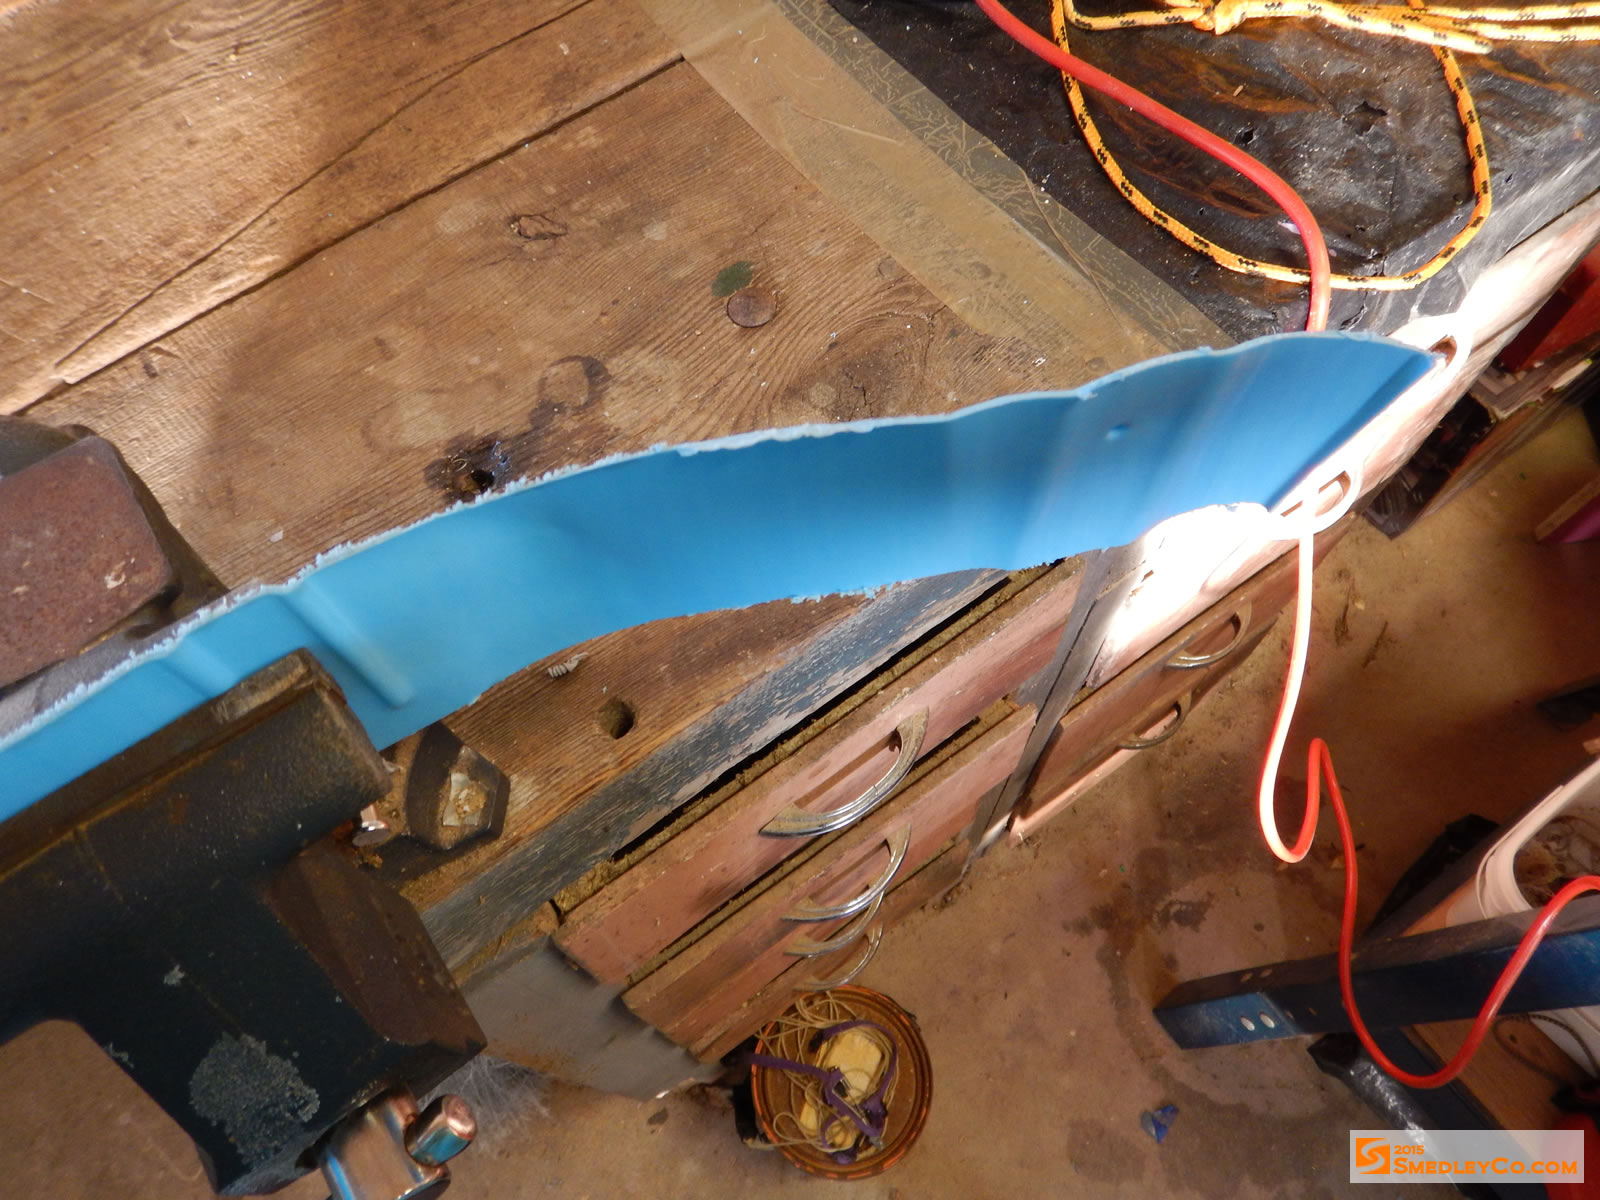
After some testing with a heat gun on the cut off sled pieces it seemed like I should be able to heat the front of the sled until the plastic was soft and reshape it into an upwards facing curve. So I carefully heated and worked the plastic until I had reshaped it as much as possible to be curved the way I wanted it. There were some creases that looked kind of ugly, but when everything was cooled the plastic seemed to be in good shape and still stiff enough. It didn’t look pretty but it seemed to work.

Scrap piece before heat gun experiments.
Shape after some experimenting with the heat gun.

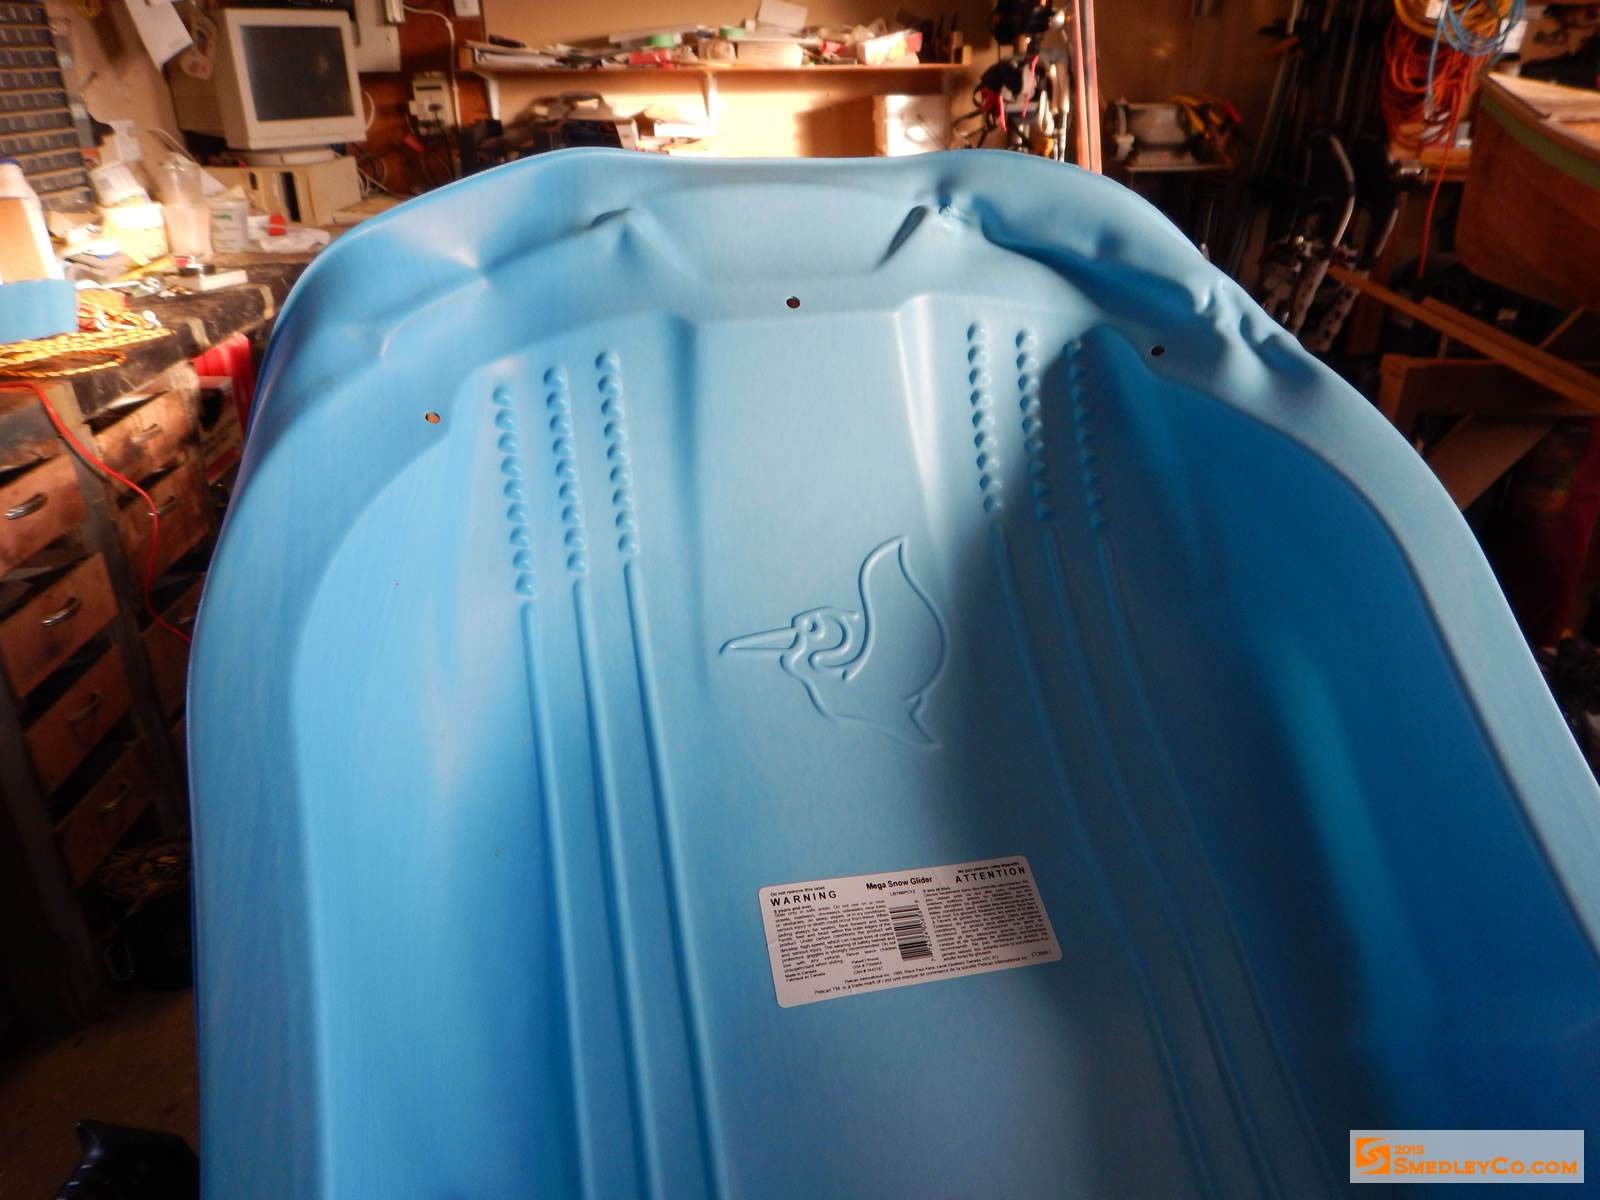
The original front of the sled.
The front curve after heating and reforming.

What the new front curve ended up like from a side view.
The pulk was really taking shape now, I was pretty happy with how things were turning out. The next step was to run a rope around the outside edge as a lashing point when strapping gear into the pulk. I’ve covered this in my original design, feel free to have a look back at it. The best thing to do, I think, is place holes evenly around the edge where it makes sense to do so given the ridges and shape of the toboggan. Don’t make any one length super long or it will stretch out too much when you tie your load into the sled. I also like to put a hook at the bottom and I use quick links as attachment points for the pulling poles.
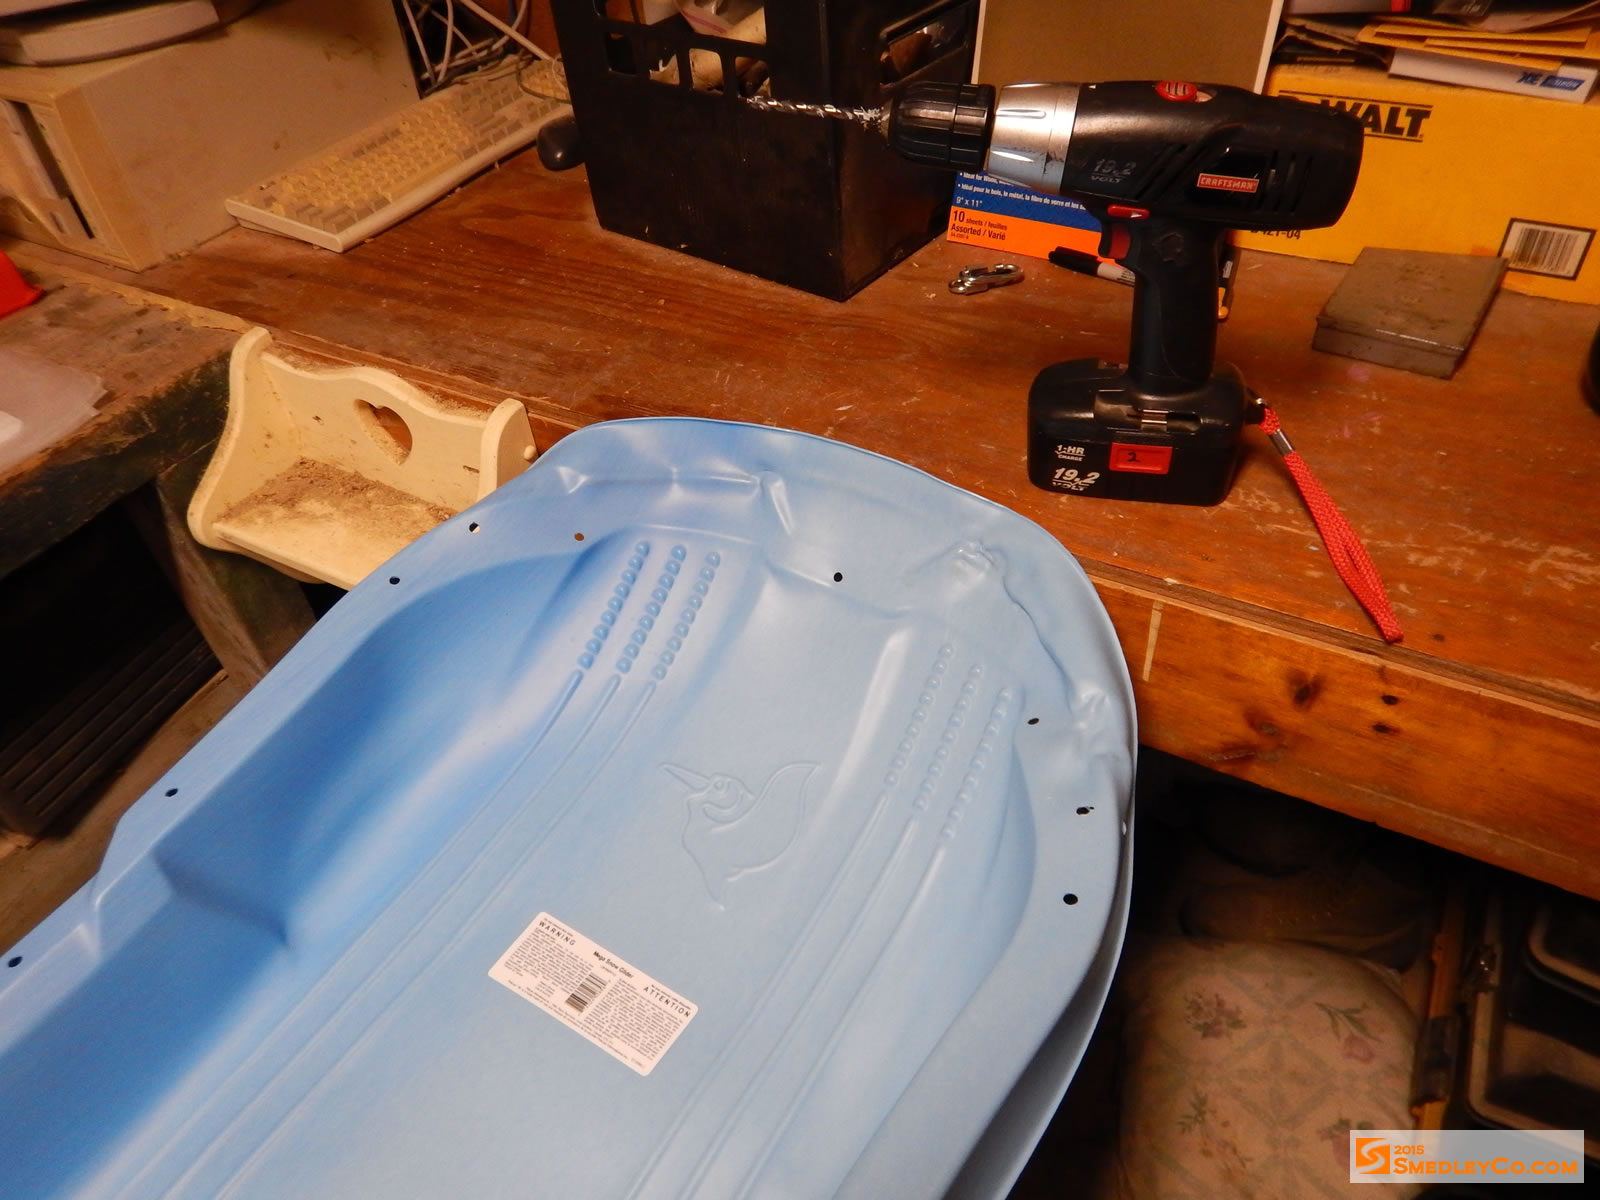
Drill holes in a nice pattern around the toboggan.
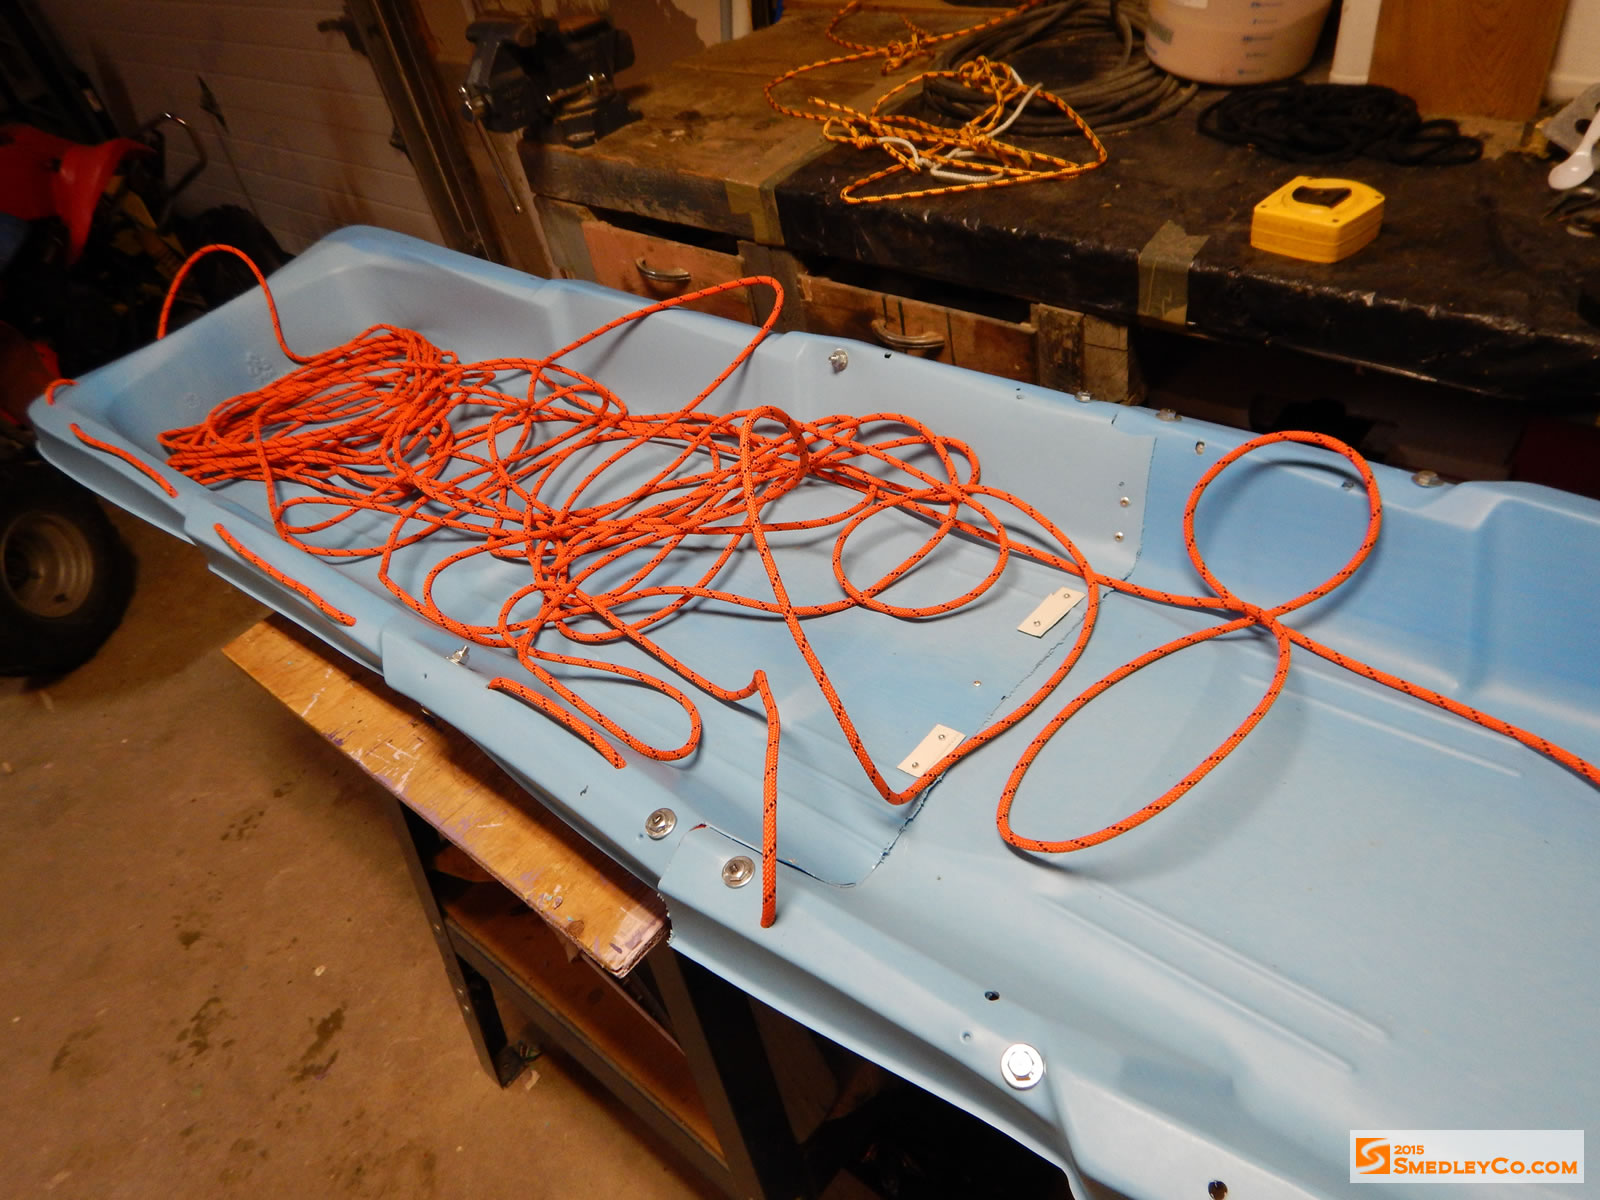
You'll need lots of rope to go around an 8 foot Mega-Pulk.
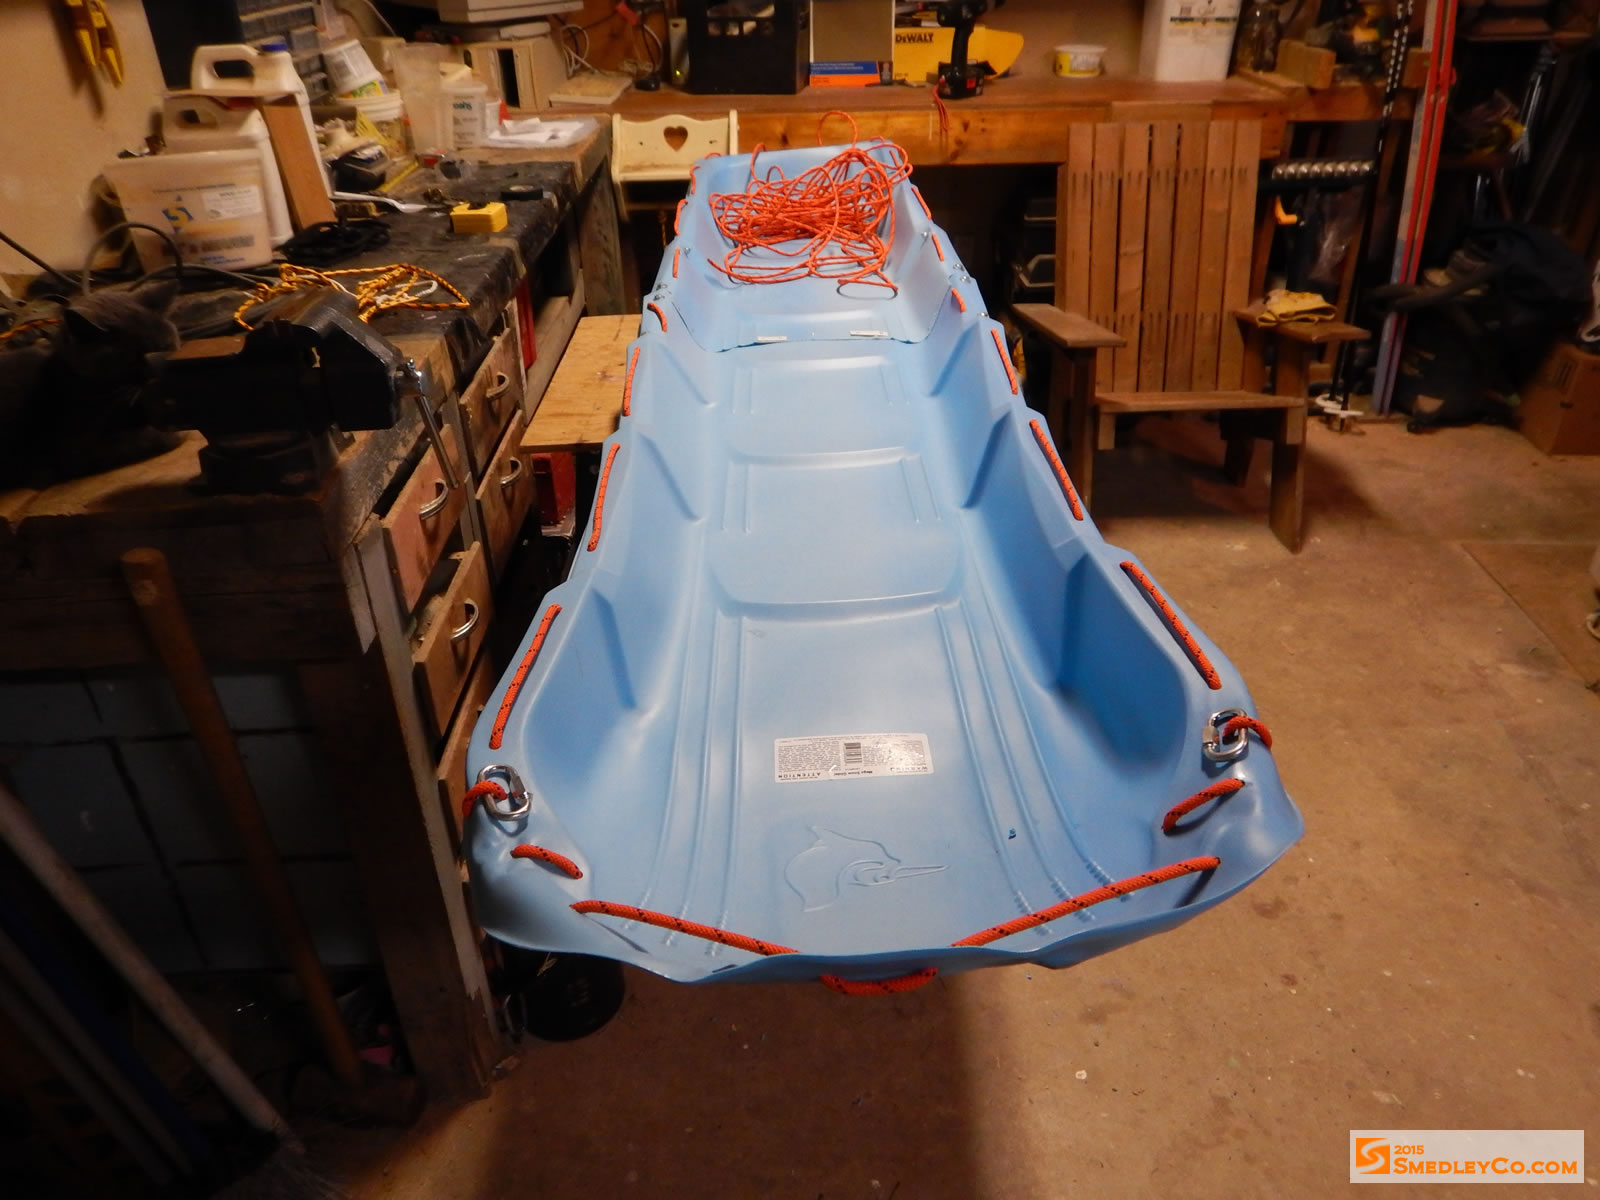
Quick links are easy to use pole attachment points.
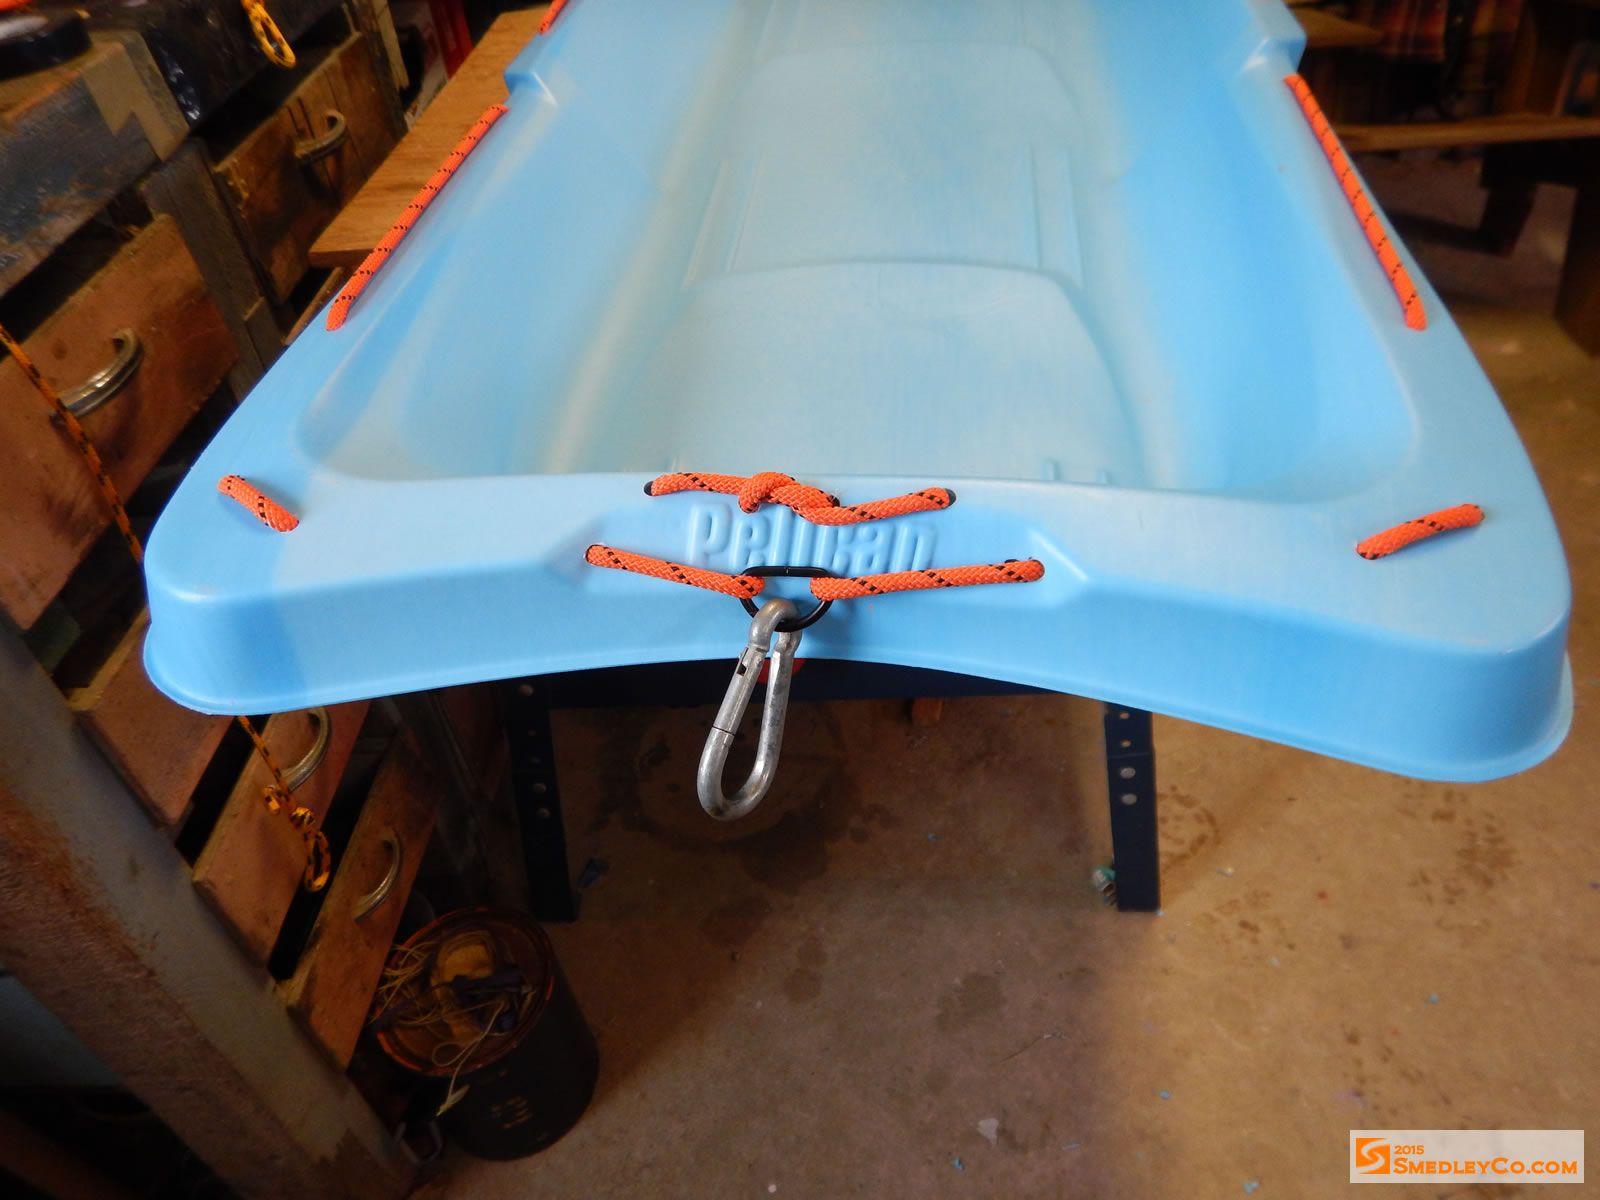
Jazz up your pulk with "options" like rear hitches.

Since we do some bushwhacking with our pulks, I installed a lift handle.
Attach poles for pulling the pulk
So far so good, I thought things were looking pretty good, overall it was the same as my original pulk, just stretched out to eight feet and with a couple of small improvements. Since I was MacGyvering away I thought I should take a stab at improving the poles I used for pulling the pulk. The current set up had worked okay, but since the rope was one length going through the conduit it always got stretched out on each trip.
Rope stretched after a winter camping trip.
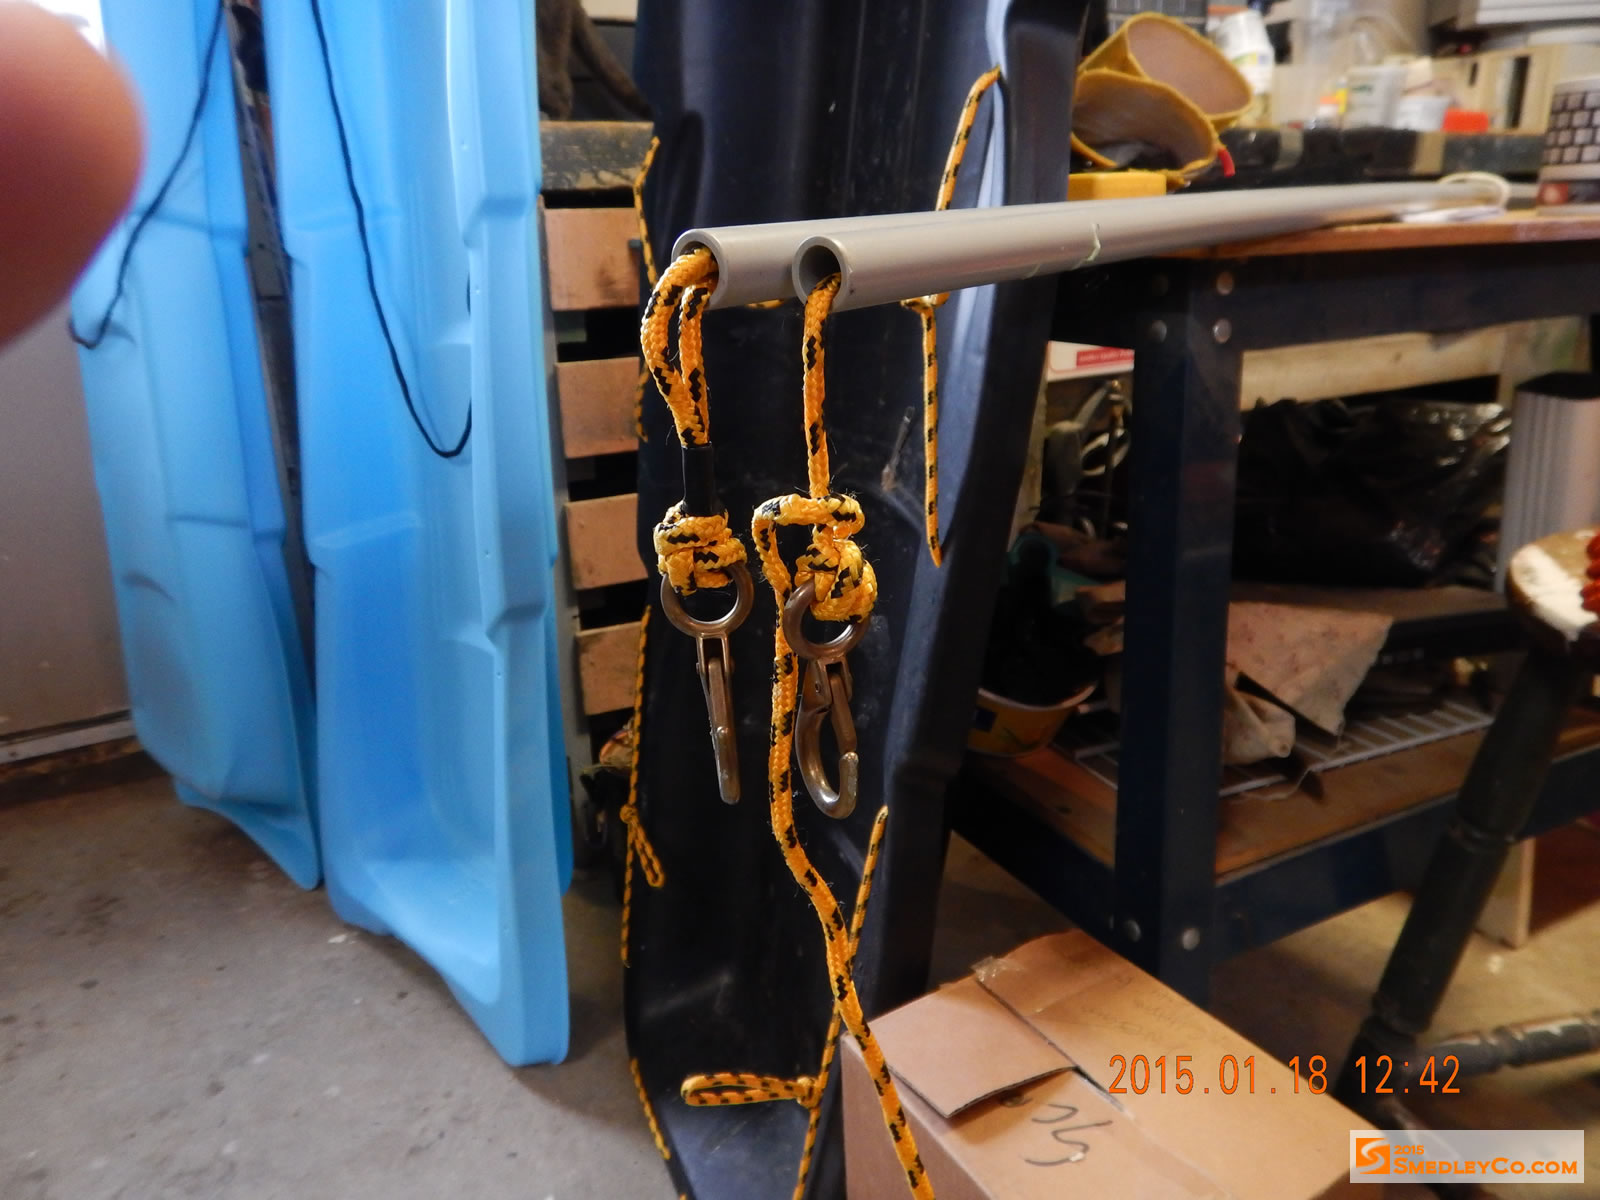
I decided the long length of rope was not needed and that just tying the connector hardware to each end should do away with most of the rope stretch. I drilled a hole through the conduit about 2 inches from the end, then I could feed the rope through and tie it off there. Wrap it all up in tape and we were good.
Threading through the pole to make a loop.

A metal loop for extra protection and tied off.
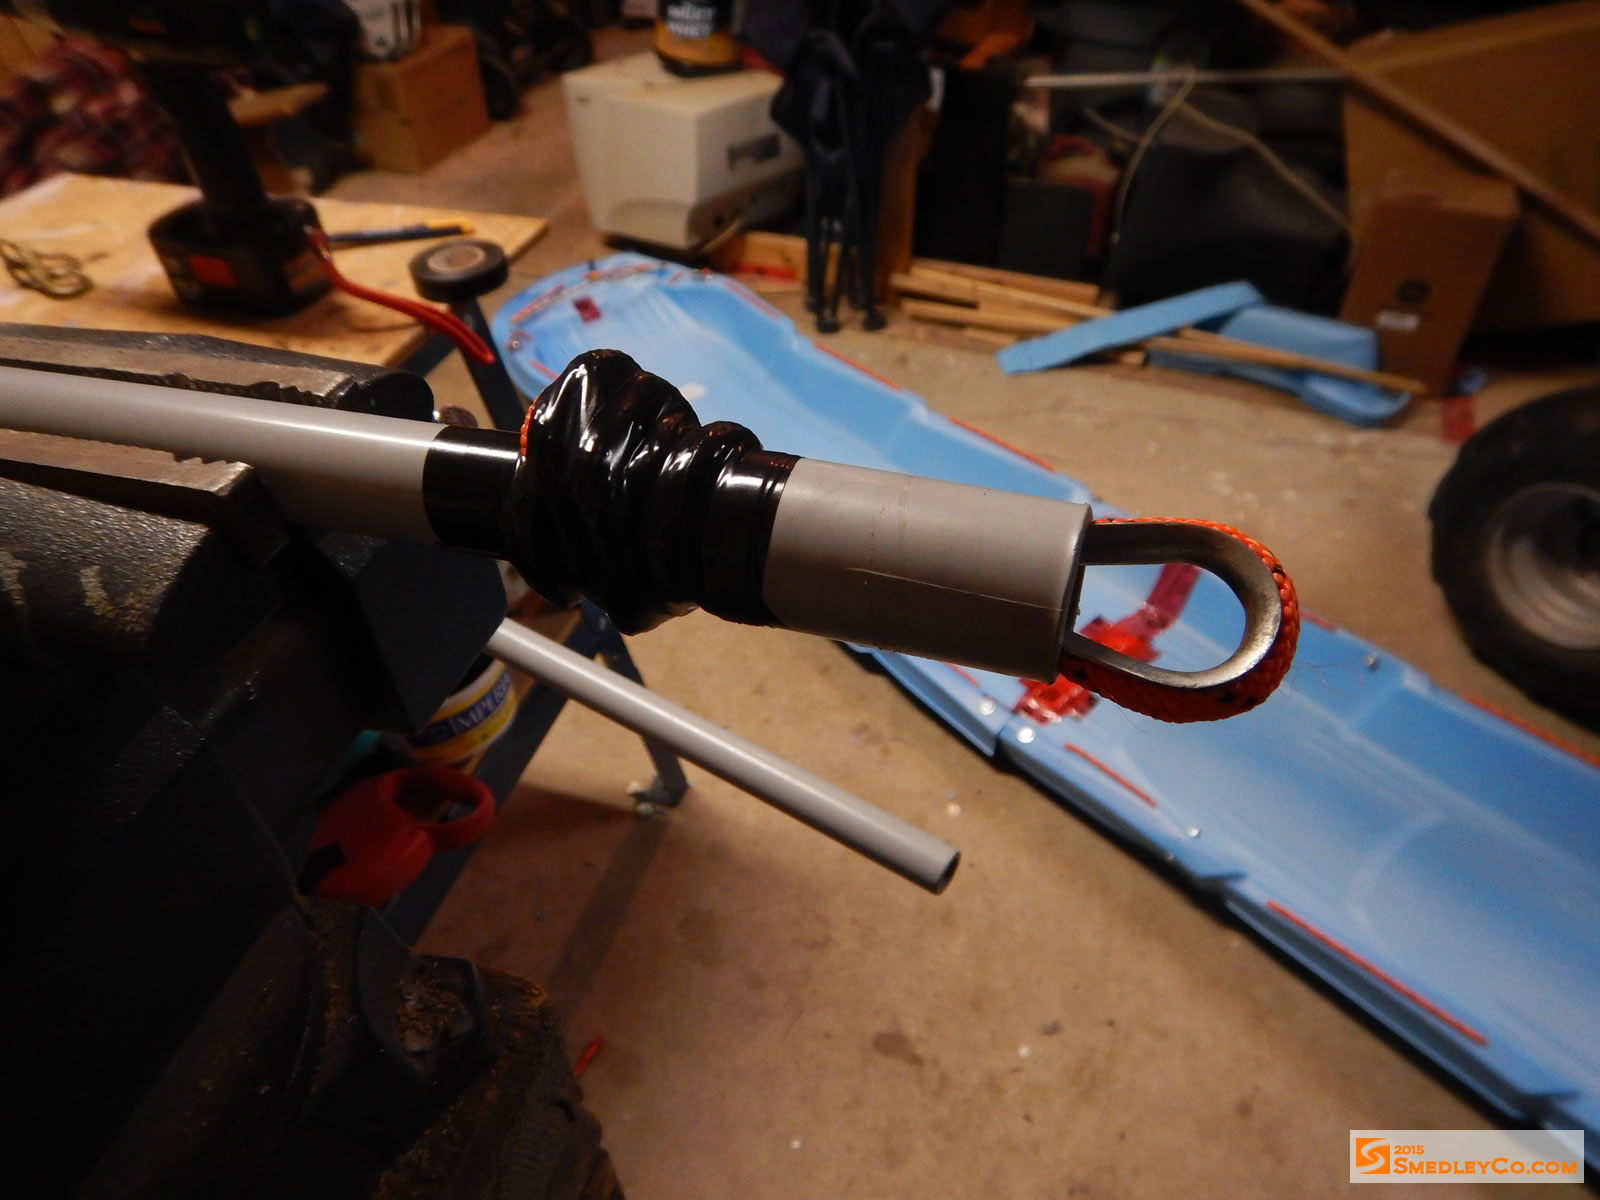
Bottom end that connects to the pulk.
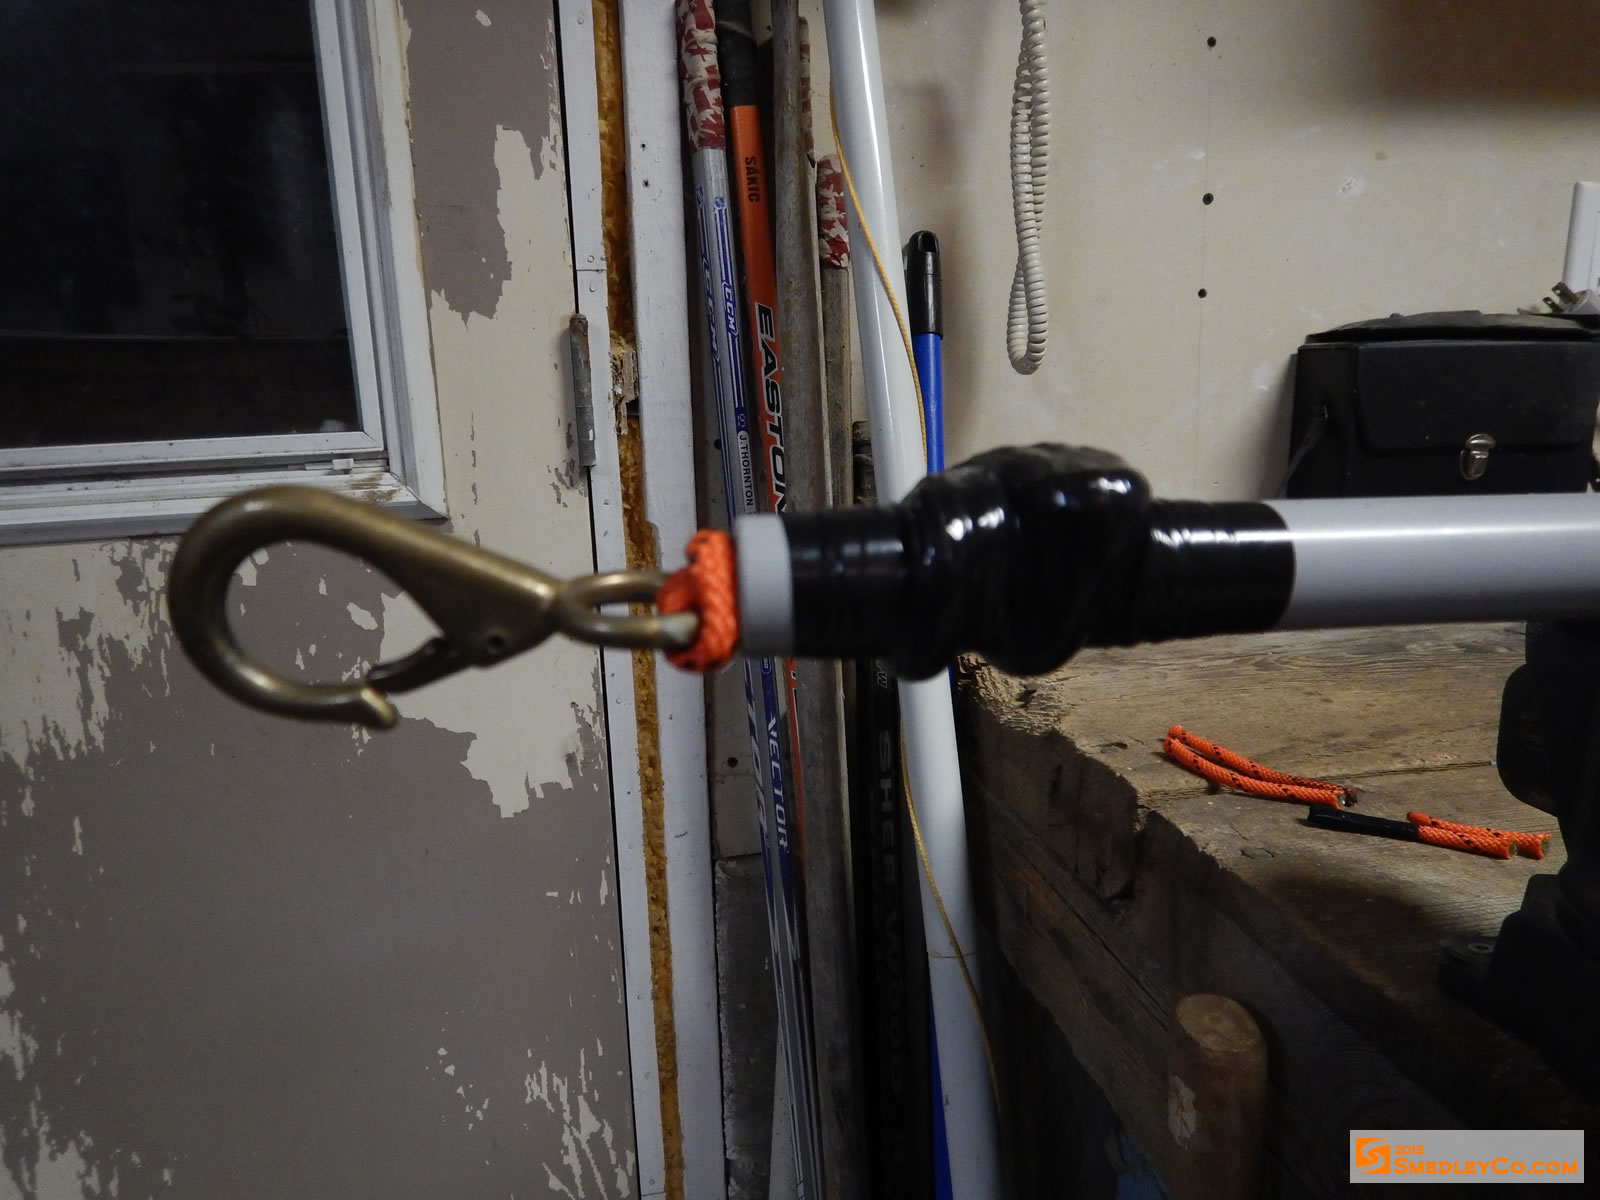
The top end gets a snap to connect to the pulling harness I wear.
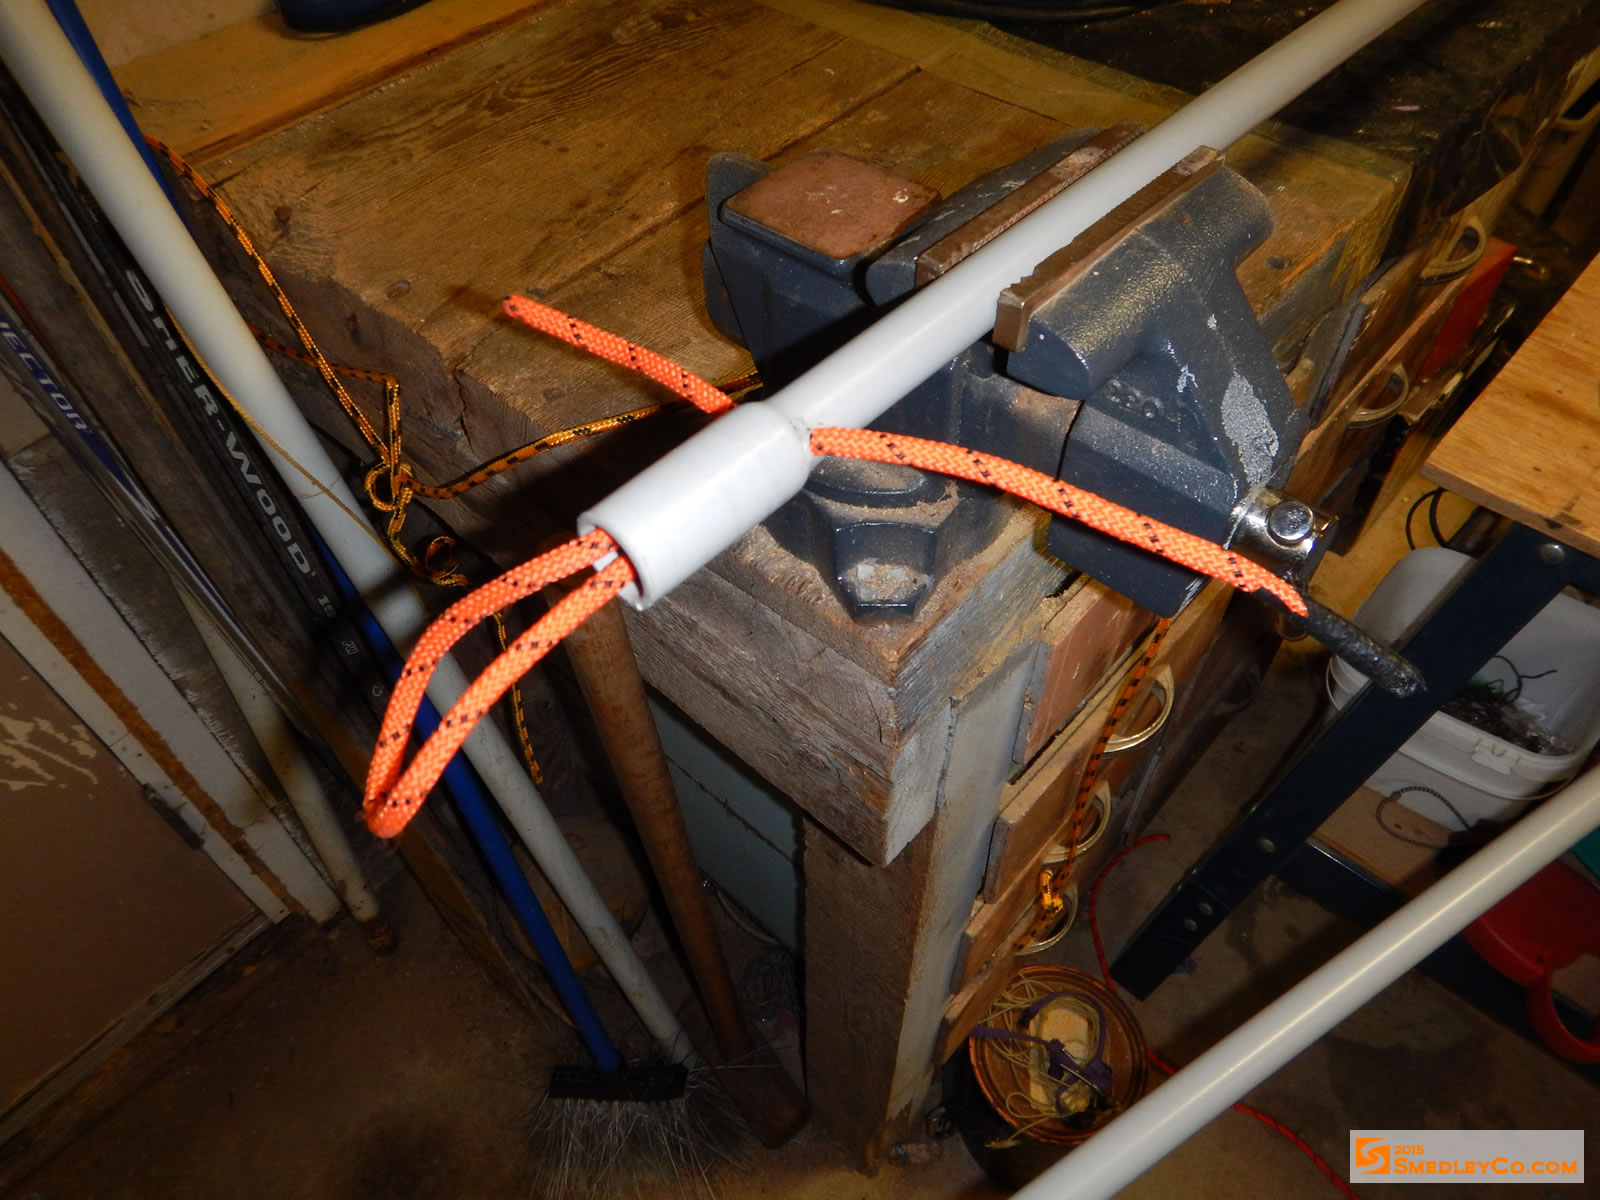
That seemed to be doing the trick, it looked like it would work out. The last step to finish up the poles for the diy pulk was to tie them together in the middle. There are many different harness and rope configurations for pulks out there. I have found it best to use poles, in this case half inch plastic conduit, and to cross the poles over one another. I think that this arrangement gives you the best control for going around corners and for handling the sled on steep descents.
Further, I find that taping the rope so it can’t move on only one pole is best. Having the second pole able to move freely is useful in some tight situations.
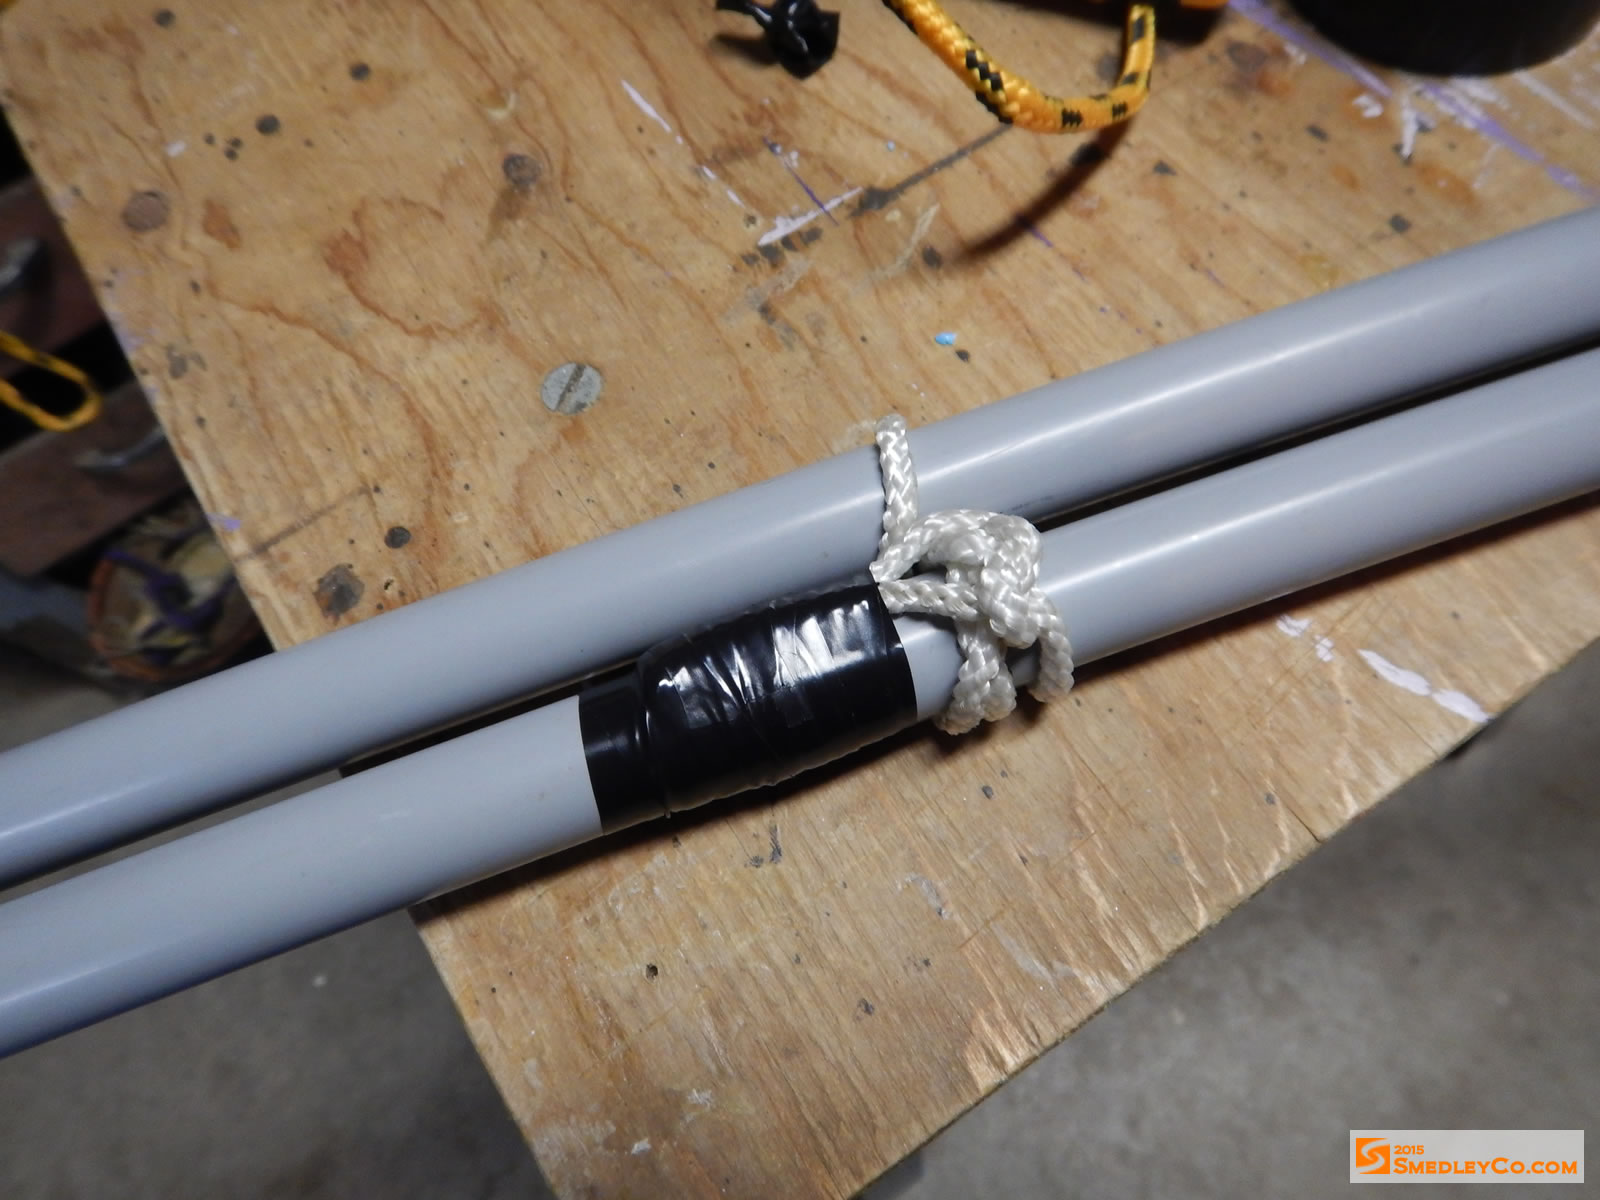
Tie the poles together, but secure only one side.

The complete Mega-Pulk with poles.
Go Winter Camping!
The Corpse Remover was complete! A quick test in the driveway and then there was nothing left to do but plan another winter camping trip.
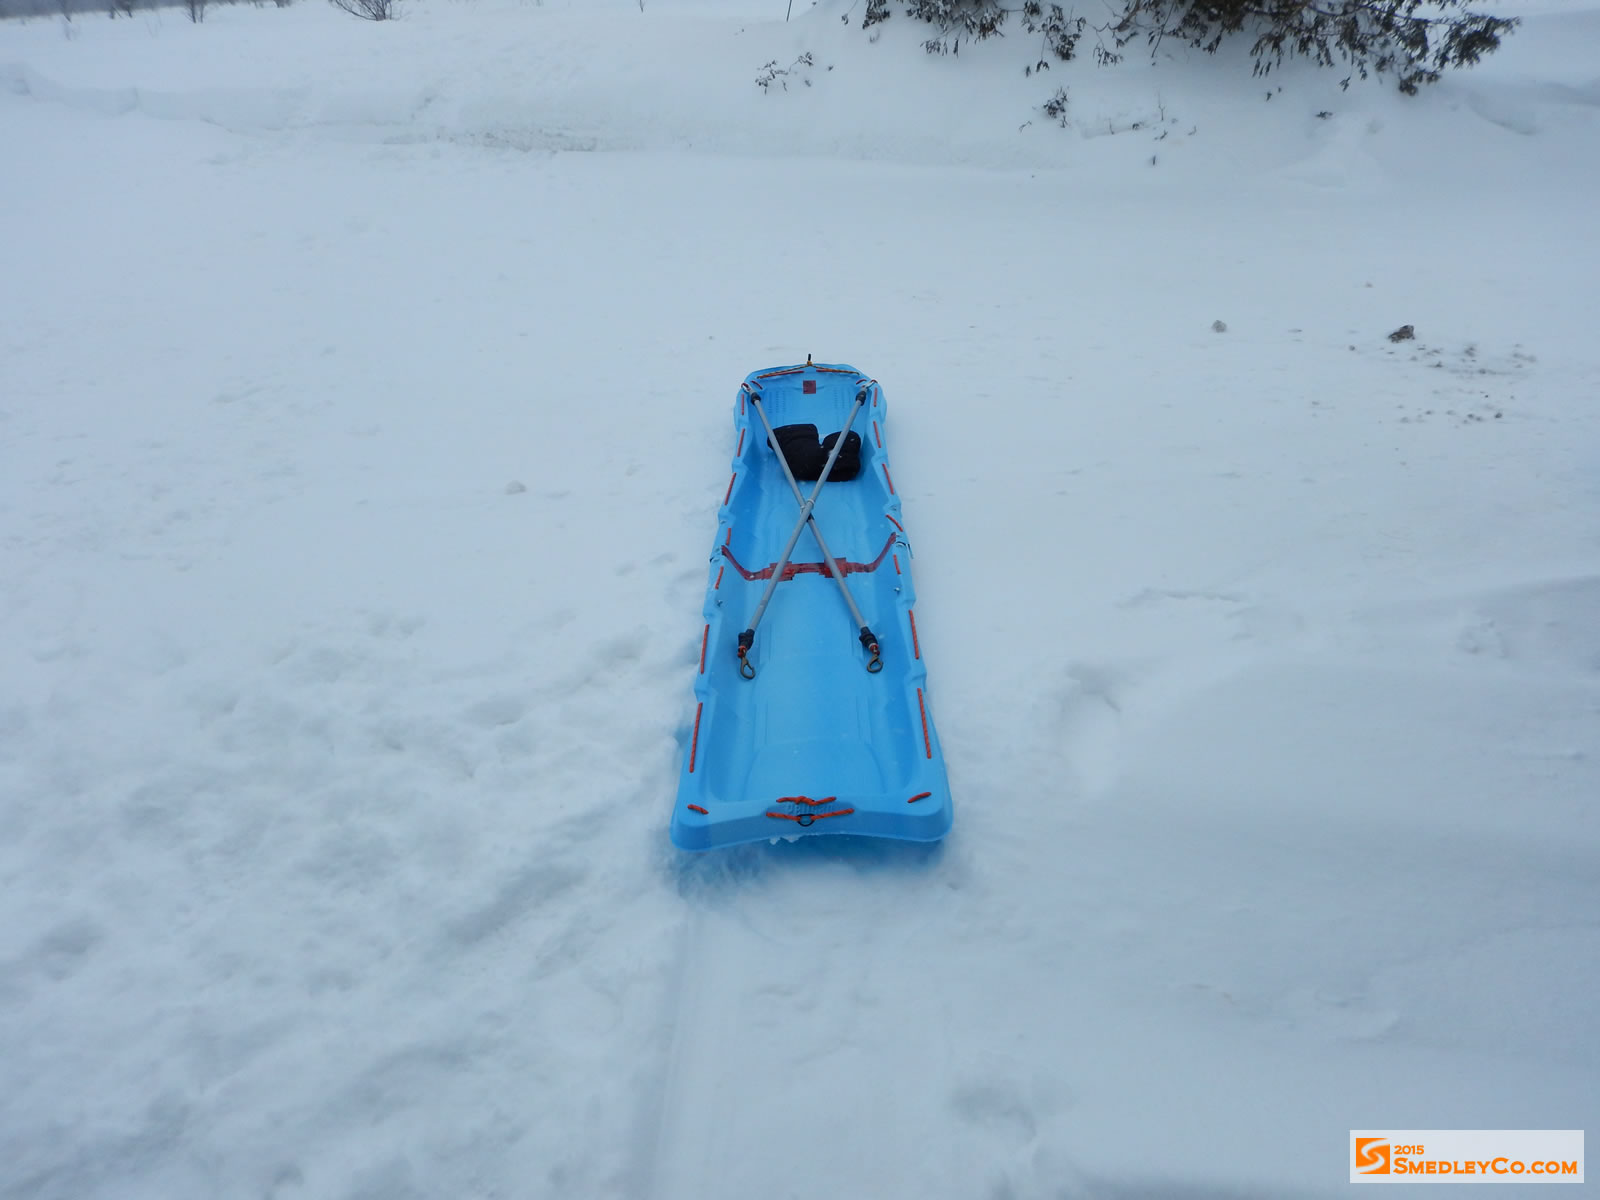
Mega-Pulk trial in the snow.
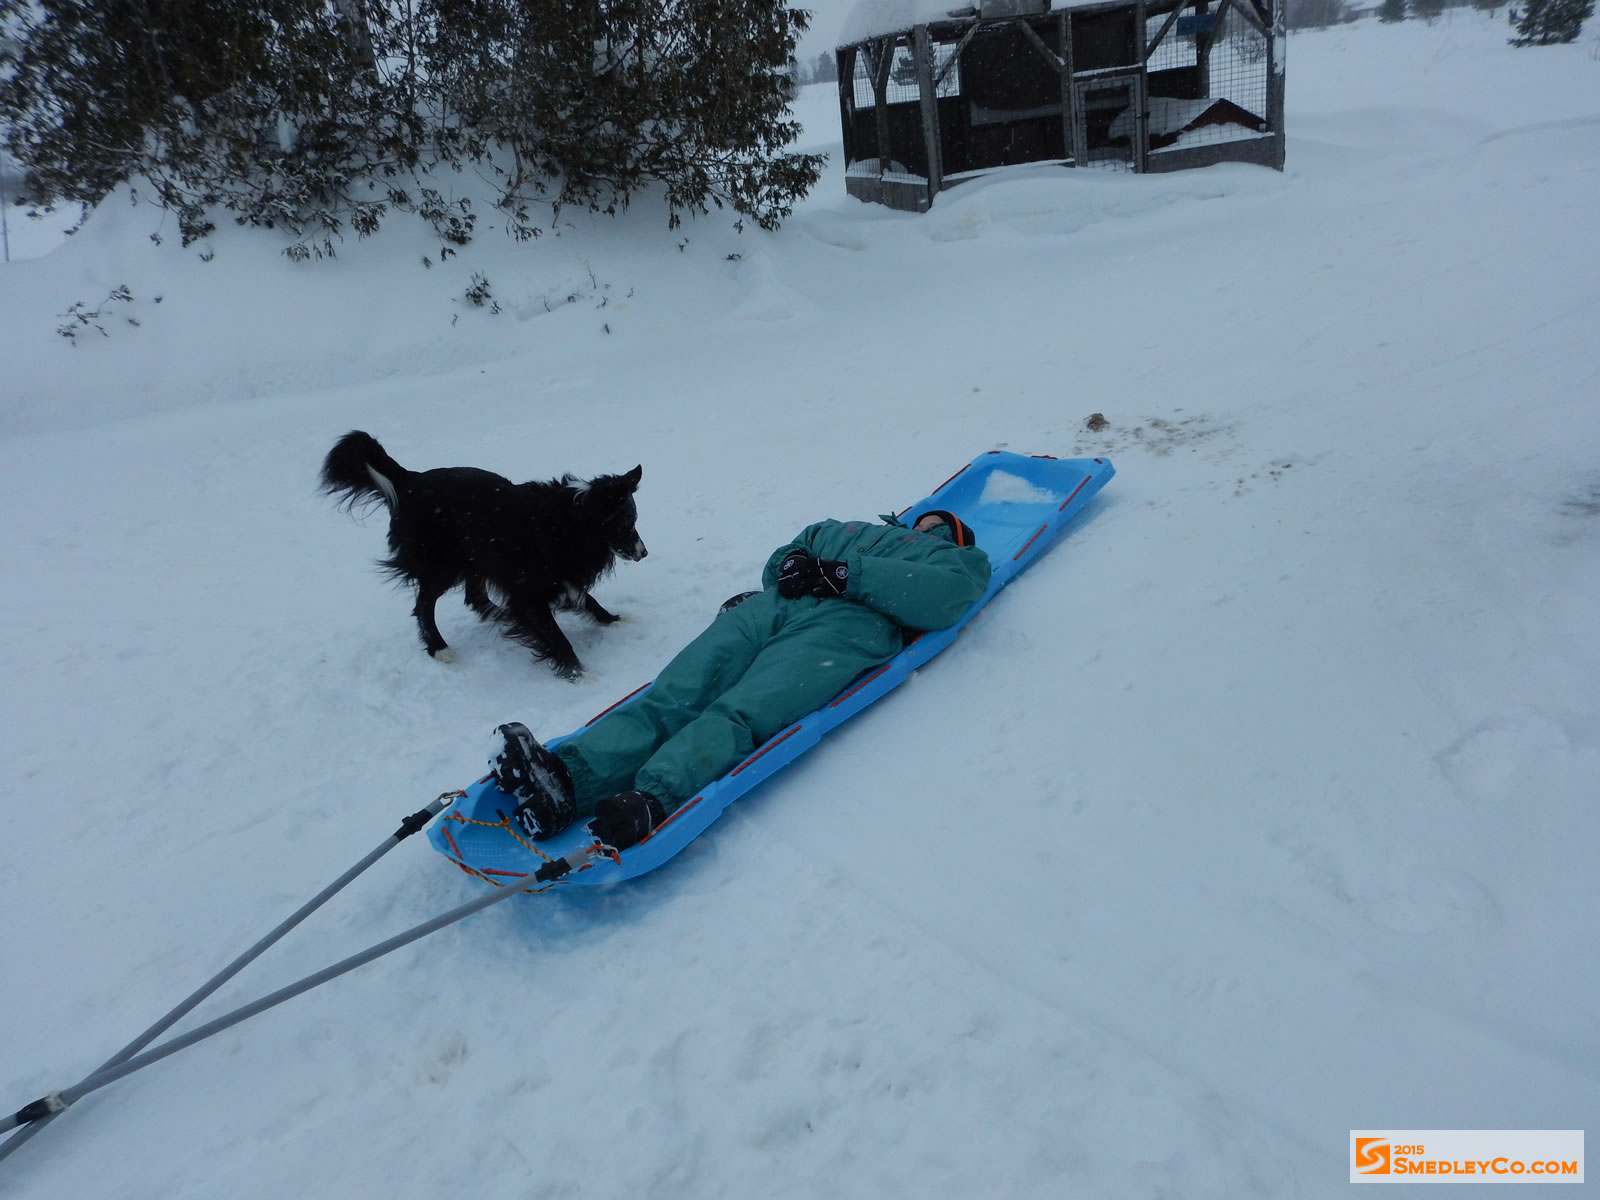
Mega-Pulk, now christened "The Corpse Remover".
Read my winter camping trip reports.
Another Winter Camp on Pinetree Lake
DIY Mega Pulk
Jump To...
Toboggans.
Slice/Dice.
Join Halves.
Improvements.
Poles.
Camping!
Winter Camping Information
Friends of Algonquin Park- Winter Page
Algonquin Adventures
- Winter Page
Algonquin Weather