I am not a boat builder by profession. But since January 2008 I have been building a Sassafras 14 lapstitch canoe using plans from Chesapeake Light Craft
 . The 14 foot plans are no longer available on their web site (only the Sassafras 12 and Sassafras 16 canoes), I used the plans and instructions found in Chris Kulczycki's book - The Canoe Shop
 .
.
| |
Year Two of Building the Sassafras 14 lapstitch canoe. |
|
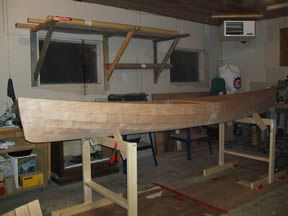
Good, level sawhorses will help a lot. |
Sawhorses.
The first task for Year Two of building the Sassafras 14 canoe was to build a pair of sturdy sawhorses. They needed to be level and strong since pretty much the rest of the canoe building would be done on them.

 |
| |
|
|
|
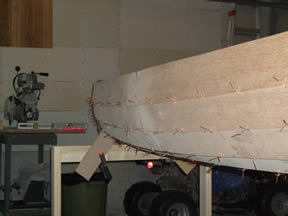
Important step, making everything level and symmetrical. |
Shaping the canoe.
With a level platform to work on I spent a lot of time tightening the wire ties to bring the planks snuggly together. You also have to make sure the Sassafras is level and symmetrical, or apparently you'll be paddling around in circles.


|
| |
|
|
|
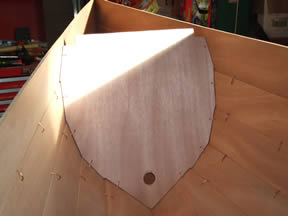
The shape looks complicated, but it was easy making the bulkheads. |
Installing the bulkheads.
With the canoe leveled and the right shape it was time to make and install the bulkheads. The measurements are in the plans and it was easy to cut them out of the plywood. I stacked two pieces together and was able to cut both at the same time. Then they get wired in place. Drill for your drain plug before you wire everything in place.


|
| |
|
|
|
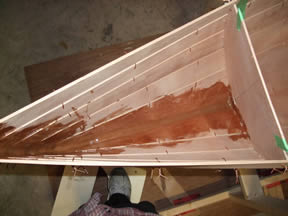
The stems hold the ends together, do a good job but it doesn't have to be pretty. |
Filleting the stems.
To have the canoe maintain it's shape the first step is to epoxy the stems and bulkhead. The inside of the bulkhead won't be seen so it's a great place to learn how to use epoxy and fiberglass. Especially if, like me, you've never done it before.

 |
| |
|
|
|
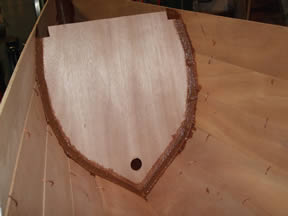
Bulkhead securely in place. |
Filleting the bulkheads.
The bulkheads get a fillet as well. On the outer face of the bulkhead you will want to do a good job as it will be seen. Try to smooth the epoxy out to a nice shape before it sets up. I didn't and the surface was very rough and almost impossible to sand smooth.


|
| |
|
|
|
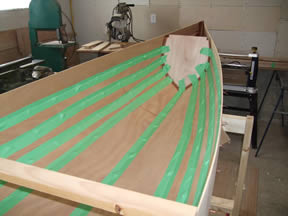
I taped the inside of the seams to prevent leaks. |
Preparing to fill the seams.
Epoxying the seams is what makes the canoe keep it's shape. Turn the canoe upside down, tape areas you don't want epoxy on and make sure you are happy with the shape!


|
| |
|
|
|
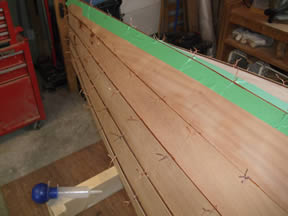
Seams filled with first bead of epoxy. |
Filling the outside seams.
Most sources tell you to use a syringe of some sort, I found these ones with a big bulb on the end and they worked well. Run a bead of epoxy as deep in each seam as you can get it.


|
| |
|
|
|
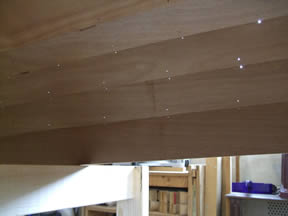
Dozens of holes in your canoe! |
Remove the wire ties.
After the epoxy in the seams has cured you can go around and remove all of the wire ties. The canoe can now hold its shape. With the wires out of the way you can now fill the seams fully.


|
| |
|
|
|
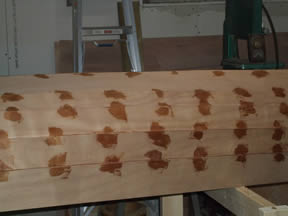
Patched wire holes in hull. |
Fill the wire holes and seams.
After getting the wires all pulled out you fill the leftover holes in with epoxy. Some people mix sawdust or wood flour to colour match the plywood, but I didn't bother as I plan on painting my hull.


|
| |
|
|
|
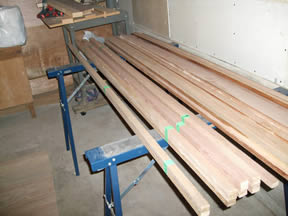
Mahogany door jamb cut down for gunwales. |
MacGyvering gunwales.
Since getting 16 foot length mahogany stock would be tough (and pricey) I found another way to get it. Door jamb material that I had carefully removed during a house renovation. Came in very handy!


|
| |
|
|
|
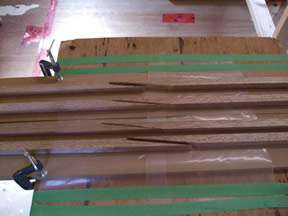
Pieces ready to glue up. 8:1 scarf ratio. |
Scarffing to get 16 feet lengths.
Of course it's a little more work to turn short pieces into a 16 foot long board. But it's not very hard and saves you some money. I don't think anybody will even notice the joint.


|
| |
|
|
|
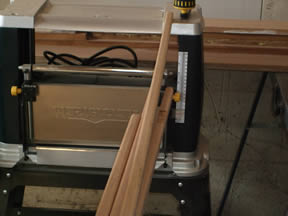
Gunwales ready to go. |
Rounding over the gunwale edges.
Now that I had gunwales long enough I ran them through the router to round over two edges. It was a job to get enough support on both sides of the router - right out the garage door!


|
| |
|
|
|
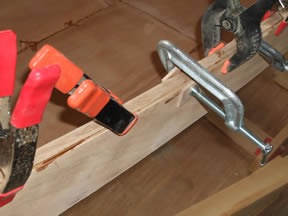
Start at the center and work your way to each end. |
Installing the inside gunwale.
Starting at the centre of the canoe, epoxy the gunwale to the inside aligning it to the top of the plank. Cut to size and do a dry run through to make sure you know what you're doing and have enough clamps.


|
| |
|
|
|
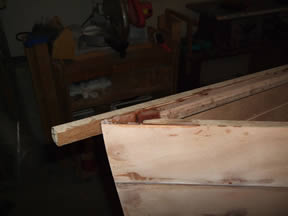
Leave the Outwale a little long and trim later. |
Installing the outside gunwale.
What you did on the inside has to be repeated on the outside of course. Try to have the top edges of both gunwales even with the top of the plywood to avoid having to do any sanding to level it out.


|
| |
|
|
|
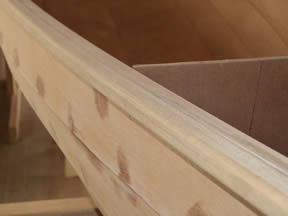
Sand as you go, but now is the time to get it right. |
Preparing outer hull for fibreglass.
Now's the time to get out the sander and sandpaper and give the outer hull a good going over to prepare for fibreglassing.


|
| |
|
|
|
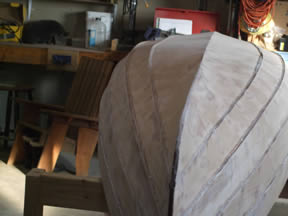
You should have smooth lines and surfaces. |
Sand some more.
When you think the hull is looking good, sand a little more. This is your last chance.


|
| |
|
|
|
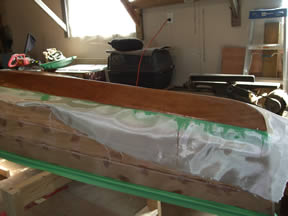
Saturate all of the cloth but not too much. |
Fibreglassing the canoe bottom.
To save weight only the first panel gets fibreglassed on the outside hull. This is the area that will be hitting bottom and rocks etc.


|
| |
|
|
|
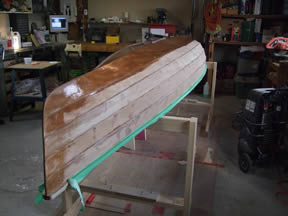
All the business edges are protected now. |
Fibreglassing the canoe stems.
The stems take lots of abuse, ramming beaver dams and what not, so they get additional fibreglass. This cloth should be bias cut.


|
| |
|
|
| |
|
|
| |
|
Year 1 | Year 2 | Year 3 |
| |
|
|
| |
|
| |
|
|

![]() lapstitch canoe using plans from Chesapeake Light Craft
lapstitch canoe using plans from Chesapeake Light Craft![]() . The 14 foot plans are no longer available on their web site (only the Sassafras 12 and Sassafras 16 canoes), I used the plans and instructions found in Chris Kulczycki's book - The Canoe Shop
. The 14 foot plans are no longer available on their web site (only the Sassafras 12 and Sassafras 16 canoes), I used the plans and instructions found in Chris Kulczycki's book - The Canoe Shop![]() .
.
![]()
![]()
![]()
![]()


