Building the Sassafras 14 Canoe

Building A Stitch And Glue Canoe
I am not a boat builder by profession. But since January 2008 I have been building a Sassafras 14![]() lapstitch canoe using plans from Chesapeake Light Craft
lapstitch canoe using plans from Chesapeake Light Craft![]() . The 14 foot plans are no longer available on their web site (only the Sassafras 12 and Sassafras 16 canoes), I used the plans and instructions found in Chris Kulczycki's book - The Canoe Shop
. The 14 foot plans are no longer available on their web site (only the Sassafras 12 and Sassafras 16 canoes), I used the plans and instructions found in Chris Kulczycki's book - The Canoe Shop![]() .
.
It has been a long process, involving many "breaks" from building while life interfered. But it has not been difficult, starting with a sheet of plywood and using simple power tools the stitch and glue format makes it rather easy to build. When I get the urge or have some free time I head out to my garage and do a little more work to make a beautiful wooden canoe. The latest goal is to complete the canoe in time for the first trip of a trip in 2012 2013 the near future!
Year One of Building the Sassafras 14 lapstitch canoe. |
||
 Offsets and tools, ready to start lofting. |
Lofting.I used corrected plans from a member of the clcboats.com Boatbuilders Forum
|
|
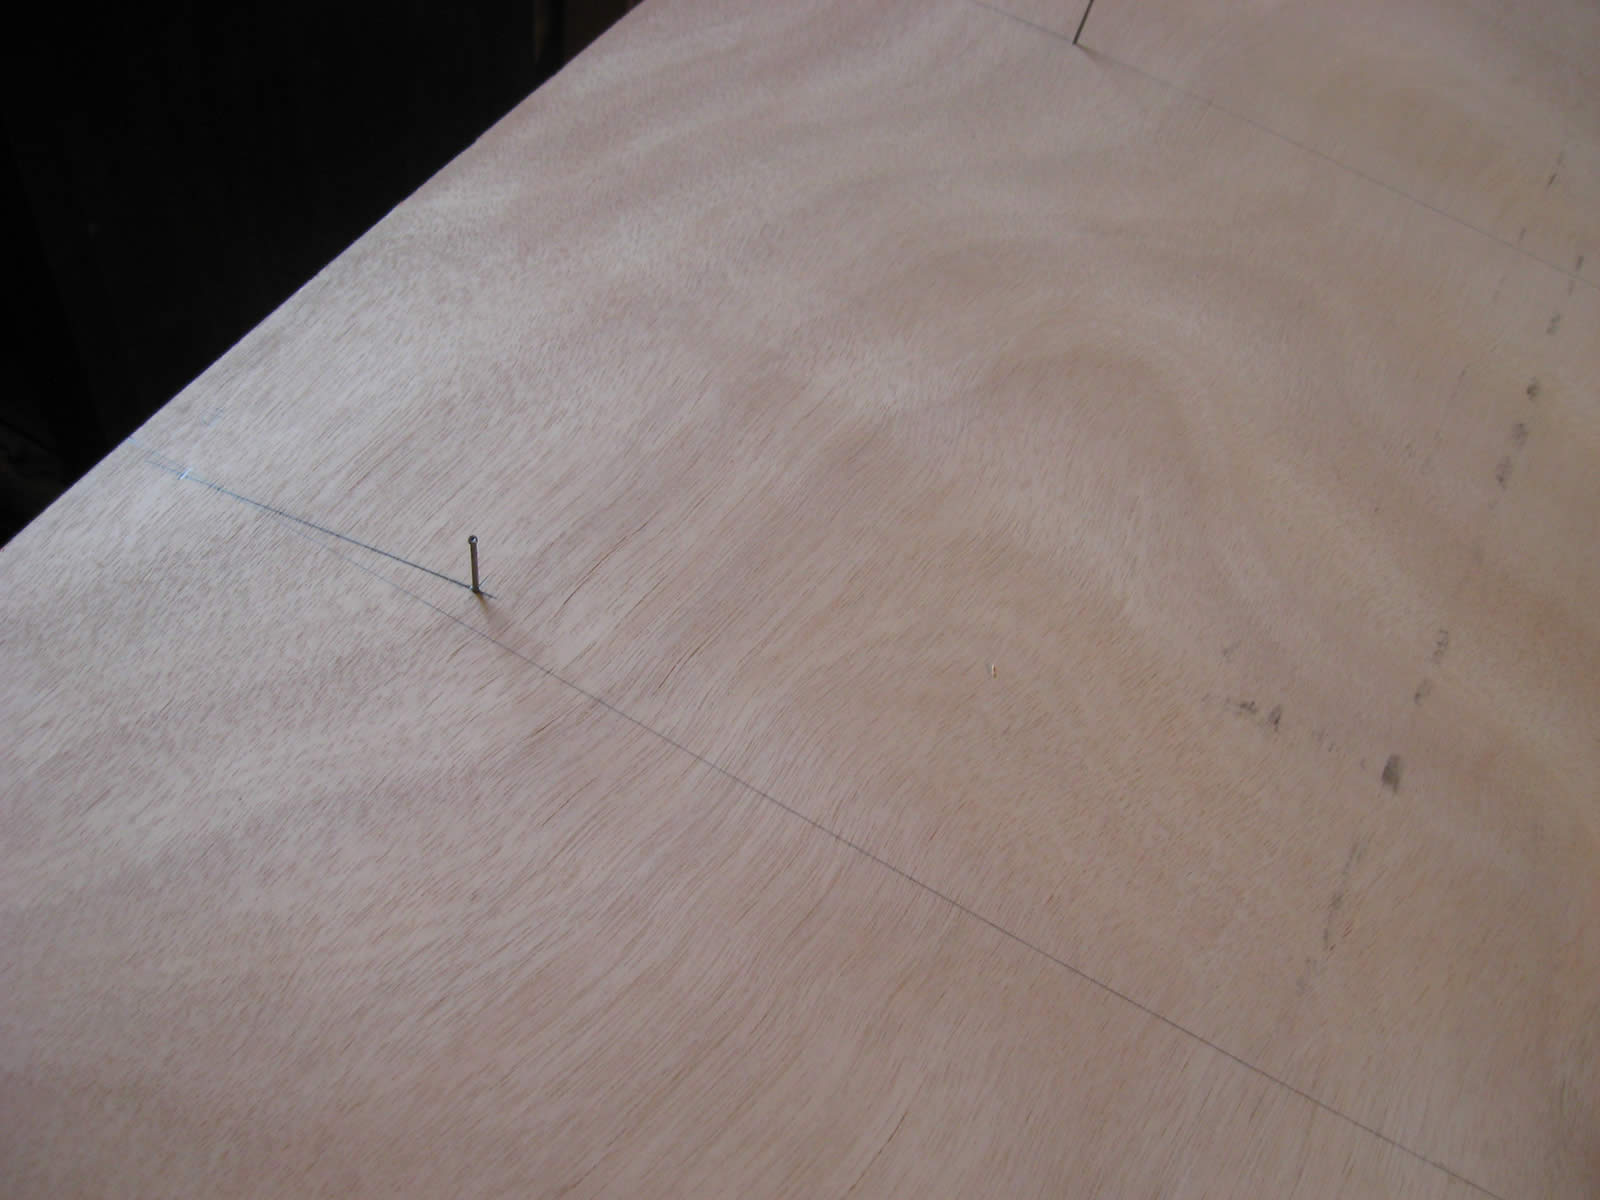
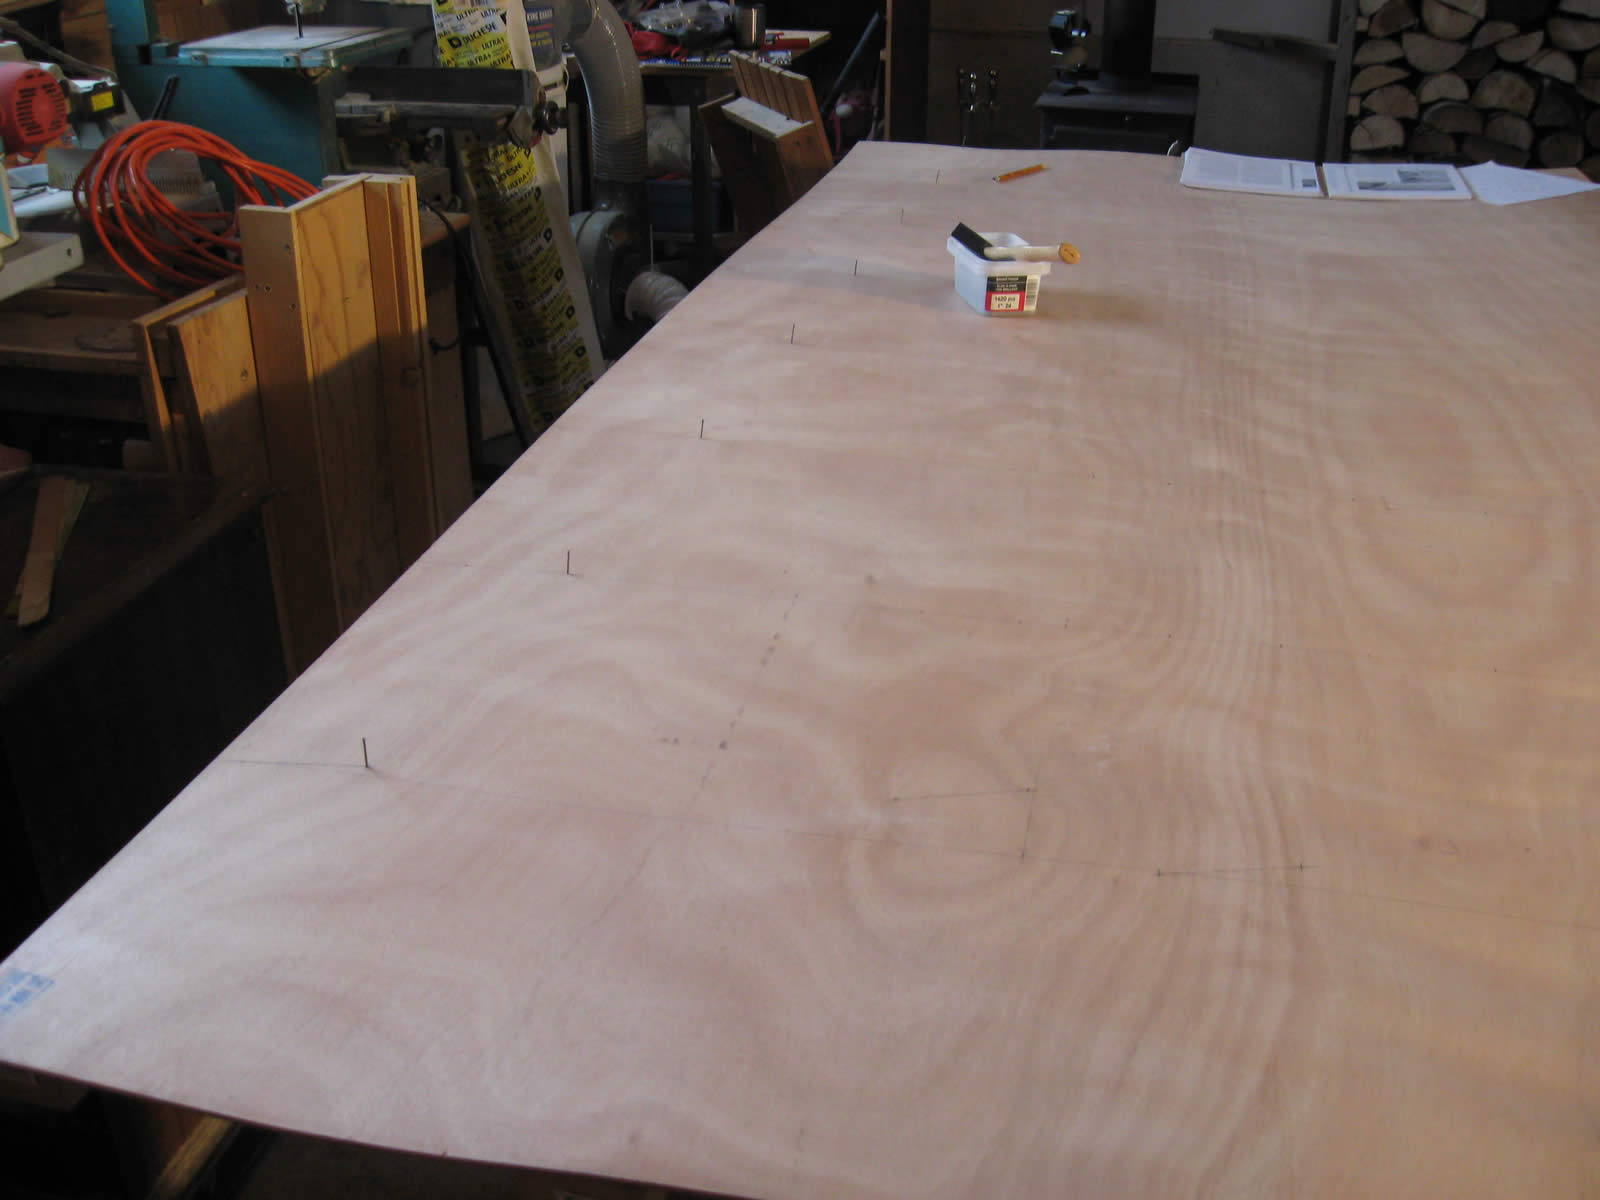
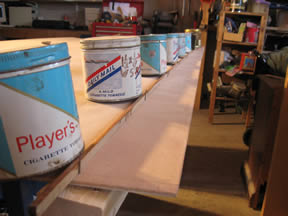 Batten laying out the line for a plank. |
Batten to mark plank curves.A thin, flexible piece of wood and some full tobacco cans were great for marking the plank curves. You can see the trouble I had with my plywood getting wavy, too long in the back of the truck on the way home I think.
|
|
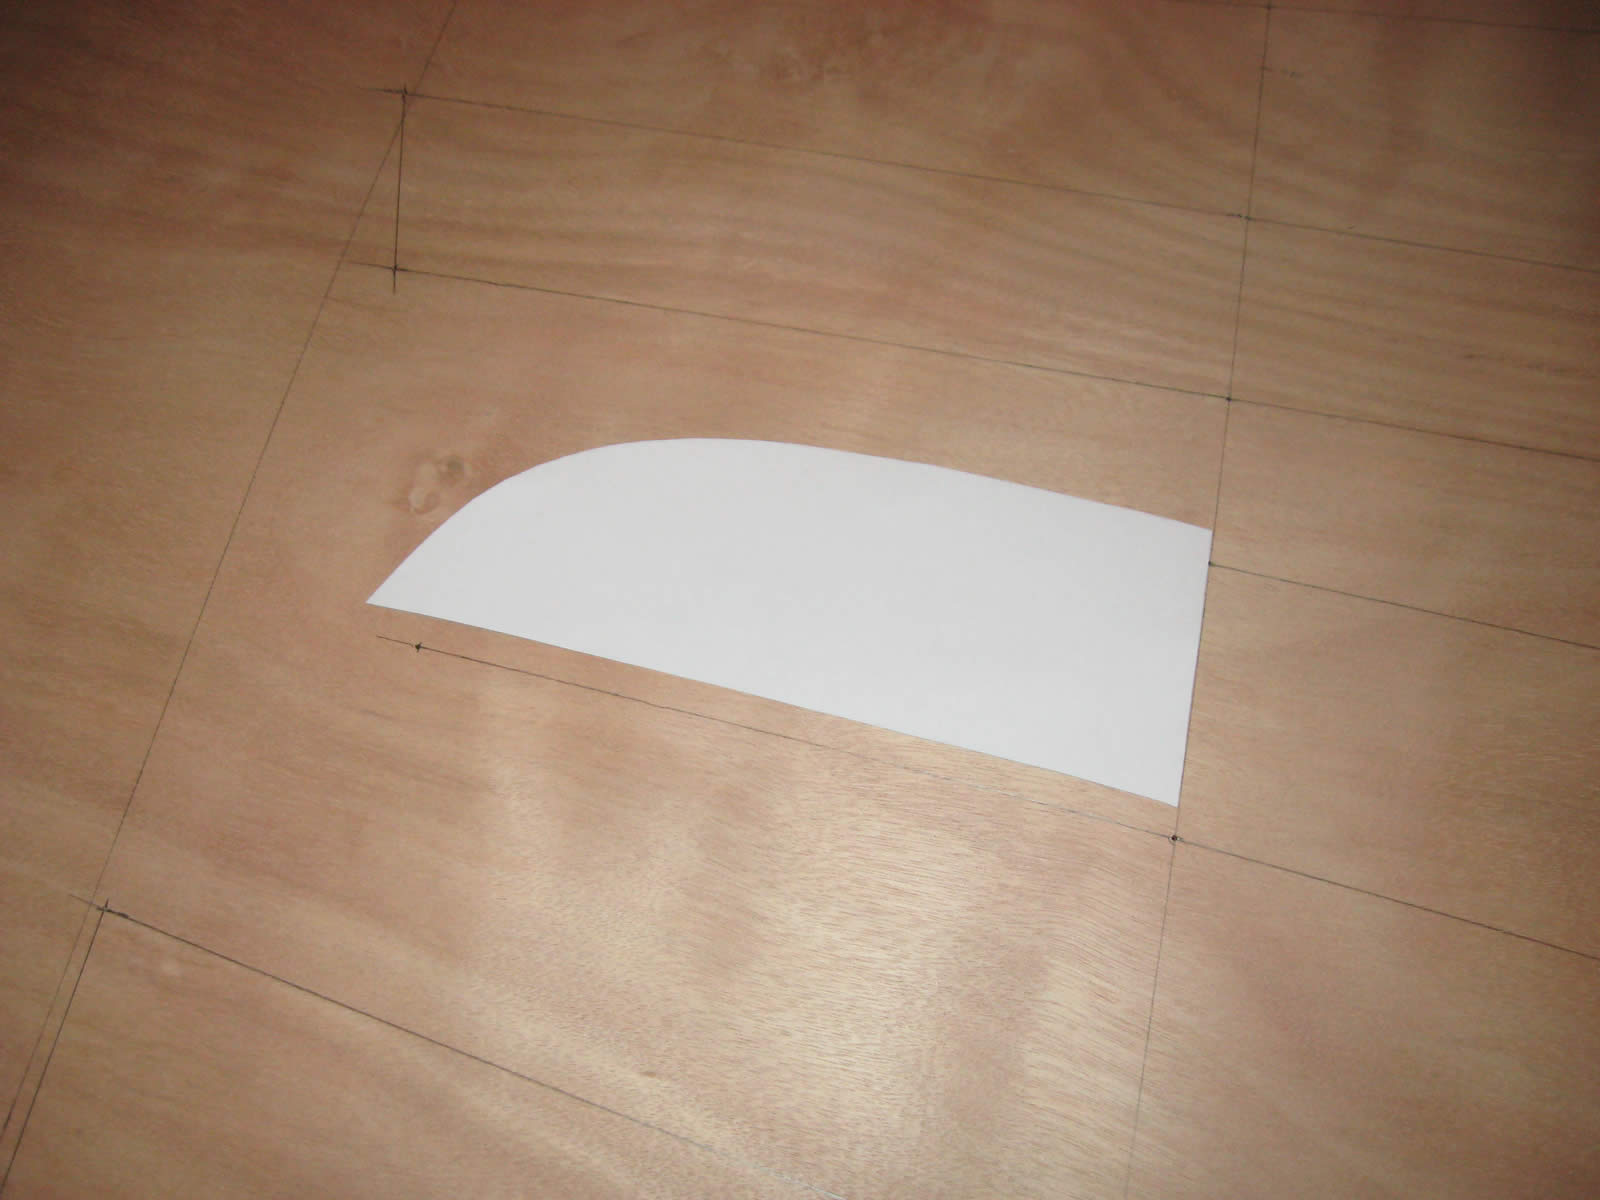
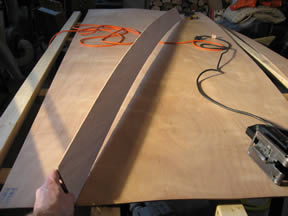 First plank cut for the Sassafras 14. |
First plank cut out.The first sheet of plywood only produced five planks (the templates for the rest). I was able to get all the planks (20) from only two more sheets. I decided to keep the first set in case I wanted to build another Sassafras 14. You know, in case I botched something.
|
|
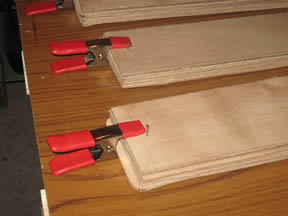 Stack of five planks, cut slightly oversize. |
All planks cut.Here are five planks rough cut to size, four of each and the reusable templates. After man-handling the 4x8 sheets they don't seem like much. Be careful when handling the planks, the thin plywood could snap if not supported properly.
|
|
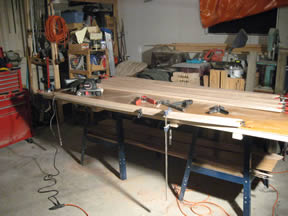 Planks stacked to sand the edges. |
Sanding edges of planks fair.I stacked the planks and used a belt sander to make the planks. Faster and easier than using a hand plane. The only trick is to watch that the edge stays perpendicular to the plank so all the pieces are the same shape and size. You want to sand up to the line and have a smooth curve.
|
|
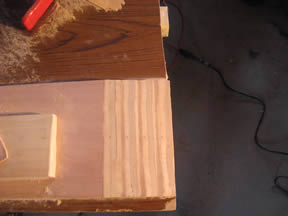 Completed scarf joint in planks. |
Making the scarf joints.Stagger the ends of the planks to make a ramp. Again I used the belt sander, a bit of practice and everything went well. The layers within the plywood really helps you see if you are doing it evenly along the width of the plank. You should aim to have each scarf the same length, about 8 times the width of the plank.
|
|
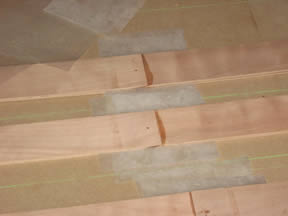 The half planks made into one. |
Gluing the half planks together.I laid out the planks on the floor, aligned things and epoxied the scarfs together. Check your measurements carefully and then look to see that it looks fair. Then check it all again. Plastic pieces will help stop the epoxy from sticking when you glue both sets of planks at once.
|
|
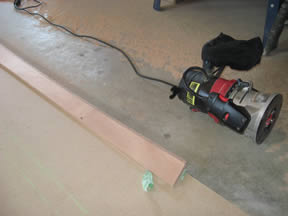 I stacked each set to give more width for the bearing. |
Cutting the rabbits in the plank edges.I used a rabbitting bit in my router instead of a hand plane again. If I had a good plane I might have done this by hand, but it was fast and easy with the router. A big table would save you some back pain but doing it on the floor worked fine.
|
|
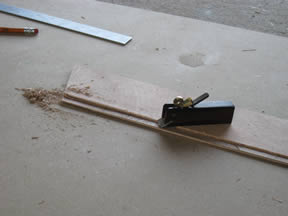 Miniature plane used to cut gains in planks. |
Cutting the gains.I didn't know what gains were (the small slope cut into the end of the rabbit to allow the plank to fit smoothly together at the stems) until building the Sassafras 14. I bought a miniature chisel plane
|
|
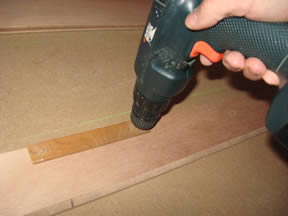 Drilling wire tie holes using a template. |
Drilling holes for wire ties.I made a simple template for drilling the holes for the wire ties, about six inches apart. Support the plank underneath or you will get some tear out. I don't think the spacing or placement is super critical, but even spacing should make it look nicer. You will see the filled holes when the canoe is done.
|
|
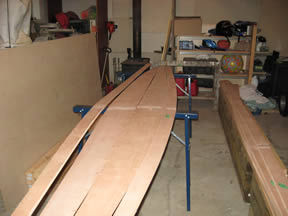 Stitching the planks into a canoe shape. |
Wiring the planks into a canoe shape.Starting with the #1 planks (the bottom) I began wiring things together. I used leftover electrical wiring (14/2) because I had lots of short pieces. Support the planks on two or three saw horses to save your back some pain as you wire it all up. Twist the wire together but leave it a little loose for later plank adjustments.
|
|
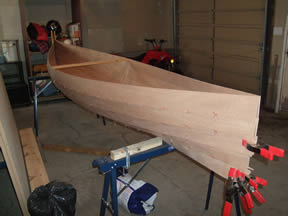 Somehow 5 planks turn into a canoe! |
Ends pulled together, looking like a canoe now.It was a little tricky bringing the ends together. I had to get another set of hands and a few clamps. You need to be careful not to split the wood at the gains when you are pulling the top plank into the bottom one. You can see my ends are not lining up. There seems to be a known error with the length of plank #3 and my template for the tip of plank #1 seems to have been a little longer than it should have been.
|
|
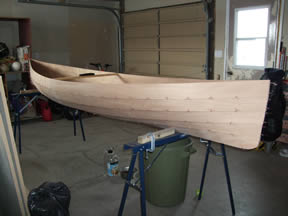 Everything stitched up. |
Ends wired and starting to shape.I took my belt sander to the ends to help smooth things out after I had aligned the planks as best I could. Better that some planks were too long than too short I guess. I eye-balled the stems so they looked good to me and wired them up too.
|
|
Current Status
March 16, 2012
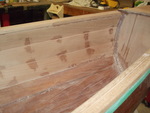
Sanding the interior and getting ready to put epoxy on.
Sassafras 14 Info
Chesapeake Light Craft
For plans, material or complete kits.
Go to web site.![]()
CLC Forum
Get your questions answered by fellow boat builders.
Go to web site.![]()
Guy Marsden's Build
Step by step instructions with pictures from another builder. A great help to me.
Go to web site.![]()
Noah's Marine Supplies
I purchased my plywood and epoxy supplies from Noah's. Quick and easy.
Go to online store.![]()
